
Is your lawn looking sad? Are bare spots and weeds taking over? Redoing your grass lawn can seem like a big job. But with the right steps, you can have a lush, green carpet again. Can you redo a grass lawn yourself? Yes, you absolutely can! This guide will walk you through everything from preparing your soil to choosing the right grass seed.
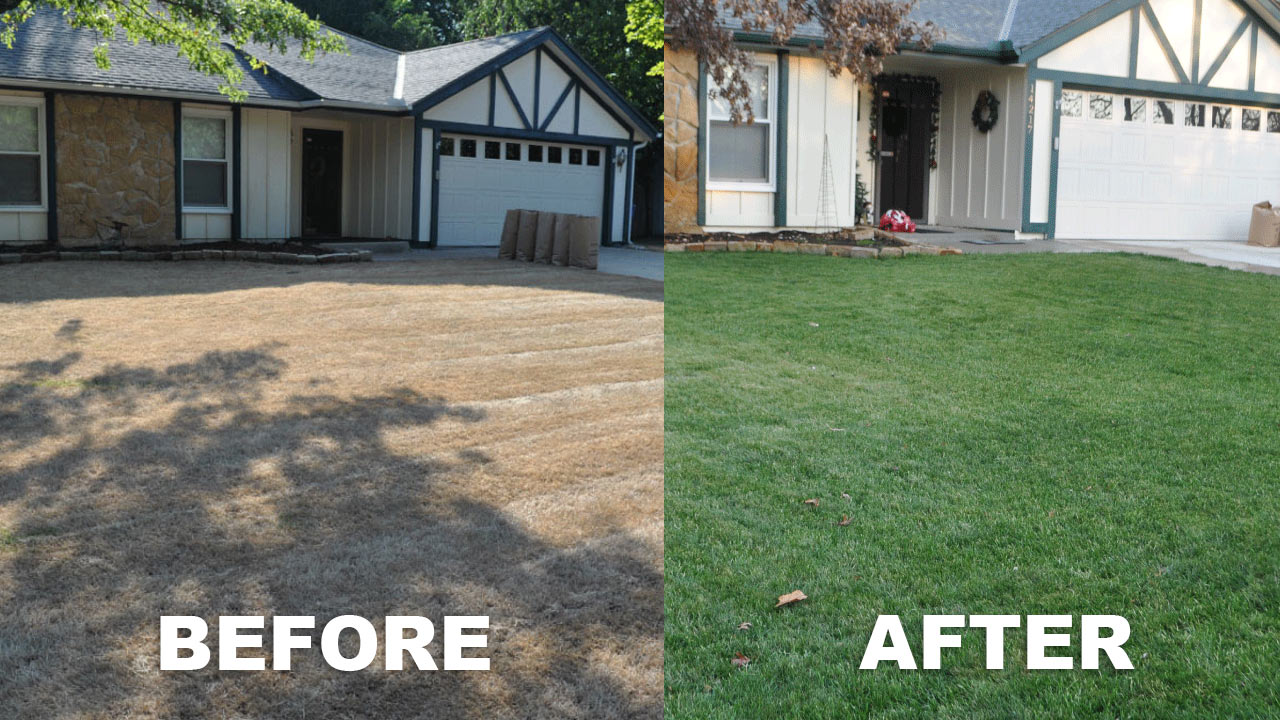
Image Source: grasspad.com
Why Redo Your Lawn?
Lawns, like anything, age and can fall into disrepair. Several factors can lead to a lawn needing a complete makeover:
- Wear and Tear: High foot traffic, pets, and kids playing can compact soil and damage grass.
- Pests and Diseases: Infestations or diseases can kill off large sections of your lawn.
- Weed Invasion: Persistent weeds can choke out healthy grass.
- Poor Soil Conditions: Compacted, nutrient-poor, or improperly drained soil makes it hard for grass to thrive.
- Shade or Sunlight Issues: Changes in tree growth or new structures can alter how much sun your lawn gets, favoring certain grass types over others.
- Outdated or Unsuitable Grass Type: The grass you initially planted might not be ideal for your climate or soil conditions.
A lawn renovation is the solution when your lawn is beyond simple repairs. It’s a complete overhaul that sets the stage for a healthy, vibrant turf.
When is the Best Time to Redo Your Lawn?
The best time to reseed lawn areas or start a full renovation is typically in the fall (late August through October) or early spring (March through May). These periods offer cooler temperatures and consistent moisture, which are ideal for new grass seed germination and establishment.
- Fall: The soil is still warm from summer, promoting good root growth. Cooler air temperatures reduce stress on young seedlings, and fewer weeds compete for resources.
- Spring: While also a good option, spring can bring unpredictable weather, including late frosts and increased weed pressure.
Avoid renovating during extreme heat or drought conditions, as this will make it very difficult for new grass to establish.
Step 1: Assess Your Current Lawn
Before you start digging, take a good look at what you have.
What Are the Problems?
- Identify the main issues: Are there more weeds than grass? Are there large bare patches? Is the grass thin and unhealthy throughout?
- Check for drainage: Does water pool in certain areas after rain? Poor drainage needs to be addressed.
- Sunlight patterns: Note which areas get full sun, partial sun, and shade throughout the day. This will help you choose the right grass seed.
Soil Testing
A soil test is crucial for soil preparation for lawn. It tells you the pH and nutrient levels of your soil. You can get test kits from garden centers or send a sample to your local cooperative extension office.
- pH Level: Grass prefers a slightly acidic to neutral pH, generally between 6.0 and 7.0. If your pH is too high or too low, you’ll need to amend it.
- Nutrient Levels: The test will reveal if your soil is lacking in essential nutrients like nitrogen, phosphorus, and potassium.
Step 2: Clear the Old Lawn
This is often the most labor-intensive part of the process. You need to remove the old grass, weeds, and debris.
Options for Clearing
- Manual Removal (Sod Cutter): For smaller areas, you can rent a sod cutter. This machine slices under the turf and lifts it in strips. You can then roll up the sod and compost it or dispose of it.
- Herbicide Treatment: If weeds are a major problem or you have a large area, you might consider using a non-selective herbicide like glyphosate.
- How it works: It kills all plant life it contacts.
- Timing: Apply according to the product label, usually when the grass is actively growing.
- Wait Time: You’ll need to wait for the grass to die completely (usually 1-2 weeks) before proceeding. Some herbicides require an additional waiting period before you can reseed. Read the label carefully!
- Smothering (Solarization or Tarping):
- Solarization: Lay clear plastic sheeting over the area during the hottest part of summer. The sun’s heat gets trapped, “cooking” the existing vegetation and some weed seeds. This can take 4-6 weeks.
- Tarping: Cover the area with thick black plastic tarps or landscape fabric. This blocks sunlight and kills the grass and weeds underneath. Leave in place for several weeks or months.
Removing Debris
Once the old lawn is dead or removed, rake and clear away all dead grass, weeds, rocks, and any other debris. This ensures a clean surface for your new lawn.
Step 3: Prepare the Soil
Good soil is the foundation of a healthy lawn. This step is vital for successful soil preparation for lawn.
Till or Loosen the Soil
- Tilling: Use a rototiller to break up and loosen the soil to a depth of at least 4-6 inches. This helps with drainage and allows new grass roots to penetrate easily. If you have compacted clay soil, tilling is essential.
- Broadforking: For a less disruptive method, especially if your soil isn’t severely compacted, a broadfork can help loosen the soil without turning it over completely.
Amend the Soil
Based on your soil test results, add amendments to improve soil structure, fertility, and pH.
- Compost or Aged Manure: This is the universal soil amendment. It improves drainage in clay soils and water retention in sandy soils, while adding essential nutrients. Spread a 2-4 inch layer over the area.
- Lime: If your soil pH is too low (acidic), add lime according to the soil test recommendations.
- Sulfur: If your soil pH is too high (alkaline), add sulfur.
- Other Amendments: Depending on your soil test, you might need to add specific fertilizers or other materials.
Rake and Level
After adding amendments, rake the area thoroughly to evenly distribute them and break up any large clods of soil. Fill in any low spots with topsoil and level the entire area with a rake or landscape rake. Aim for a smooth, even surface.
Roll the Soil (Optional but Recommended)
Lightly rolling the prepared soil helps firm it up and remove air pockets. This ensures good seed-to-soil contact. Don’t over-compact it.
Step 4: Choose Your Grass Seed
Selecting the right grass type is crucial for a lawn that thrives in your specific climate and conditions.
Cool-Season Grasses
Best suited for northern climates with cold winters and moderate summers.
- Kentucky Bluegrass: Forms a dense, attractive turf. Tolerates cold well. Needs full sun.
- Perennial Ryegrass: Germinates quickly, providing fast coverage. Good for overseeding. Tolerates some shade.
- Fine Fescues (Creeping Red, Chewings, Hard): Excellent for shady areas and low-maintenance lawns. Good drought tolerance.
- Tall Fescue: Deep roots make it very drought tolerant and good for heat. More clumpy than other cool-season grasses.
Warm-Season Grasses
Best suited for southern climates with hot summers and mild winters.
- Bermuda Grass: Very durable, handles heat and drought well. Needs full sun. Can be invasive.
- Zoysia Grass: Slow-growing, dense turf that can tolerate heat, drought, and some shade.
- Centipede Grass: Low-growing, requires little fertilizer. Best in sandy, acidic soils. Tolerates shade.
- St. Augustine Grass: Forms a dense, coarse-textured lawn. Tolerates shade and salt spray. Not very cold-hardy.
Seed Mixtures and Blends
- Blends: Mixtures of different varieties of the same grass species (e.g., different Kentucky Bluegrass varieties).
- Mixtures: Combinations of different grass species (e.g., a mix of Kentucky Bluegrass, Fine Fescue, and Perennial Ryegrass). Mixtures are often best as they can adapt to varying conditions within your yard.
Tip: Check with your local extension office or garden center for recommended varieties for your specific region.
Step 5: Seeding or Sodding Your New Lawn
You have two primary methods for establishing a new lawn: seeding or sod installation.
Option 1: Seeding (Over-seeding Lawn)
This is generally the more economical option, but it takes longer to establish.
How to Overseed a Lawn
- Choose Your Seed: Select a high-quality grass seed appropriate for your climate and conditions.
- Timing: The best time to reseed lawn is during the cooler months (fall or spring) when temperatures are moderate and moisture is consistent.
- Spread the Seed:
- By Hand: For small areas, you can spread seed by hand, trying to distribute it as evenly as possible.
- Spreader: Use a broadcast spreader for larger areas. Calibrate it according to the seed bag instructions to ensure even coverage.
- Seed-to-Soil Contact: This is critical. Lightly rake the seeded area to lightly cover the seed with about 1/8 to 1/4 inch of soil. You can also use a roller to press the seed into the soil.
- Fertilize New Grass: Apply a starter fertilizer. These fertilizers are formulated with higher phosphorus content to encourage strong root development. Follow the product’s application rates.
- Watering:
- Keep it Moist: Water lightly and frequently to keep the top inch of soil consistently moist, but not waterlogged. This might mean watering once or twice a day, depending on the weather.
- Avoid Washing Away Seed: Use a fine spray to avoid displacing the seed.
- Mowing: Do not mow until the new grass is at least 3 inches tall. Set your mower to a higher setting than usual. Don’t remove more than one-third of the grass blade with each mowing.
Repairing Bare Patches in Lawn
If you’re only dealing with repairing bare patches in lawn, follow these steps:
- Loosen the Soil: Gently rake or hoe the bare patch to loosen the compacted soil.
- Add Topsoil: Fill the patch with a thin layer of good quality topsoil.
- Seed: Sprinkle grass seed over the topsoil, ensuring good coverage.
- Lightly Rake: Gently rake the seed into the topsoil.
- Water: Keep the area consistently moist until the grass germinates and establishes.
Option 2: Sod Installation
This provides an instant lawn, but it is more expensive.
How to Install Sod
- Prepare the Soil: Follow all the soil preparation steps outlined earlier (clearing, tilling, amending, raking, leveling). A smooth, firm seedbed is essential for sod.
- Water the Soil: Lightly water the prepared soil just before laying the sod. This helps the sod roots connect with the soil.
- Lay the Sod:
- Start at an Edge: Begin laying sod strips along a straight edge, such as a driveway or sidewalk.
- Stagger Seams: Lay subsequent strips, staggering the seams like bricks in a wall. This prevents gaps and encourages even rooting.
- Fit Tightly: Ensure the edges of the sod strips fit snugly against each other. You may need to cut strips to fit curves or edges.
- Avoid Gaps: Do not leave any gaps or air pockets.
- Trim Edges: Use a sharp knife or sod cutter to trim sod to fit around borders and obstacles.
- Roll the Sod: Use a lawn roller to press the sod firmly into the soil. This eliminates air pockets and ensures good contact for rooting.
- Watering New Sod: This is critical for success.
- Deep and Frequent: Water immediately after laying the sod. Water thoroughly to moisten the soil beneath the sod, ideally 4-6 inches deep.
- Daily Watering: For the first 1-2 weeks, water daily or even twice a day if it’s hot and dry. The goal is to keep the sod and the soil beneath it consistently moist.
- Check for Dryness: Lift a corner of a sod strip to check if the soil underneath is dry. If it is, water more.
- Mowing:
- Wait: Do not mow until the sod is firmly rooted. This usually takes 2-3 weeks. You can test this by gently tugging on a piece of sod. If it resists and stays put, it’s rooted.
- Height: Mow at the recommended height for your grass type. Set your mower to a higher setting initially.
- Clippings: Leave the clippings on the lawn. They will act as a natural fertilizer.
Step 6: Ongoing Care for Your New Lawn
Once your grass is established, the work isn’t over. Consistent care will keep your lawn healthy and looking its best.
Watering
- New Lawn: Continue with regular watering until the grass is well-established (at least a month). Gradually reduce the frequency but increase the depth of watering.
- Established Lawn: Aim for about 1-1.5 inches of water per week, applied in one or two deep watering sessions. This encourages deep root growth. Water early in the morning to minimize evaporation and disease.
Mowing
- Height: Mow at the correct height for your grass type. Taller grass shades out weeds and promotes deeper roots.
- Sharp Blades: Always use a sharp mower blade. Dull blades tear grass, making it susceptible to disease.
- Clippings: Leave grass clippings on the lawn (mulching). They decompose and return nutrients to the soil.
Fertilizing
- New Lawn: You’ve already used a starter fertilizer. You may not need to fertilize again for 6-8 weeks.
- Established Lawn: Fertilize 2-4 times per year, depending on your grass type and climate. Fertilizing in fall is particularly important for cool-season grasses. Use a slow-release fertilizer for sustained feeding. Fertilizing new grass is crucial for its initial growth.
Weed and Pest Control
- Healthy Lawn: The best defense against weeds and pests is a thick, healthy lawn.
- Manual Removal: Pull weeds by hand when they are small.
- Spot Treatment: Use herbicides or pesticides sparingly and only when necessary, following product instructions carefully.
Aeration and Dethatching
Over time, soil can become compacted, and a layer of thatch (dead grass and debris) can build up on the soil surface.
- Lawn Aeration: Lawn aeration involves removing small plugs of soil from the lawn. This reduces compaction, improves air and water penetration to the roots, and helps thatch decompose. It’s best done when the grass is actively growing.
- Lawn Dethatching: Lawn dethatching (or power raking) removes the built-up thatch layer. If thatch is thicker than ½ inch, it can suffocate the grass. Dethatch in the spring or fall.
Table: Lawn Renovation Timeline
| Activity | Timing | Notes |
|---|---|---|
| Assess Lawn | Any time | Identify problems, test soil. |
| Clear Old Lawn | Late Summer/Early Spring | Remove dead grass, weeds, debris. |
| Till/Loosen Soil | Following Clearing | Improve drainage and root penetration. |
| Amend Soil | Following Tilling | Add compost, lime, or other amendments based on soil test. |
| Rake & Level | After Amendments | Create a smooth, even surface. |
| Seed or Lay Sod | Fall or Early Spring | Best times for new grass establishment. |
| Watering (New Lawn) | Daily/Frequent | Keep moist until well-established (2-3 weeks for sod, longer for seed). |
| First Mowing | After Establishment | Mow at a higher setting, don’t remove more than 1/3 of the blade. |
| Fertilize New Grass | 6-8 weeks after seeding/sod | Use a starter fertilizer, then follow a regular schedule. |
| Aeration/Dethatching | Spring or Fall | As needed, typically annually or biannually, once the lawn is established. |
Frequently Asked Questions (FAQ)
Q1: How long does it take for a redone lawn to establish?
A: If you seed your lawn, you will see germination within 7-14 days, but it can take 4-8 weeks for the grass to be sturdy enough for normal use. Sod provides an instant lawn, but it takes 2-3 weeks to root properly before it can withstand heavy traffic.
Q2: Can I reseed my lawn in the summer?
A: It is generally not recommended. Summer heat and potential drought stress new seedlings, making establishment difficult and often resulting in failure. Stick to fall or spring for the best results.
Q3: My new grass is patchy. What should I do?
A: Ensure you are watering consistently. If you seeded, check if the seed was evenly distributed and had good soil contact. You may need to do some spot seeding, following the steps for repairing bare patches in lawn.
Q4: How often should I water my new lawn?
A: For newly seeded lawns, keep the top inch of soil consistently moist – this often means light watering once or twice a day. For new sod, water deeply immediately after installation and continue daily for the first 1-2 weeks, keeping it moist. Once established, you can transition to deeper, less frequent watering.
Q5: Is it better to seed or sod?
A: Seeding is more economical and offers a wider variety of grass types. Sod provides an instant, mature lawn but is more expensive. Your choice depends on your budget, timeline, and desired outcome.
Q6: What is soil compaction and why is lawn aeration important?
A: Soil compaction is when soil particles are pressed together tightly, reducing pore space. This makes it hard for air, water, and nutrients to reach grass roots. Lawn aeration is important because it creates these pore spaces, improving soil health and grass growth.
Q7: My lawn has a thick layer of dead grass on top. What is this, and how do I fix it?
A: This is called thatch. A thick thatch layer (more than ½ inch) can block water and air from reaching the soil. Lawn dethatching (power raking) is the process of removing this layer to allow your grass to breathe and thrive.
By following these detailed steps, you can transform a struggling lawn into a beautiful, healthy, and resilient green space. Remember that patience and consistent care are key to a successful lawn renovation.