
Can you replant a lawn? Yes, you can replant a lawn. Whether you’re dealing with stubborn weeds, bare spots, or just an overall tired-looking yard, giving your lawn a fresh start is a rewarding project. This guide will walk you through everything you need to know to replant your lawn successfully, from choosing the right seeds to nurturing your new grass.
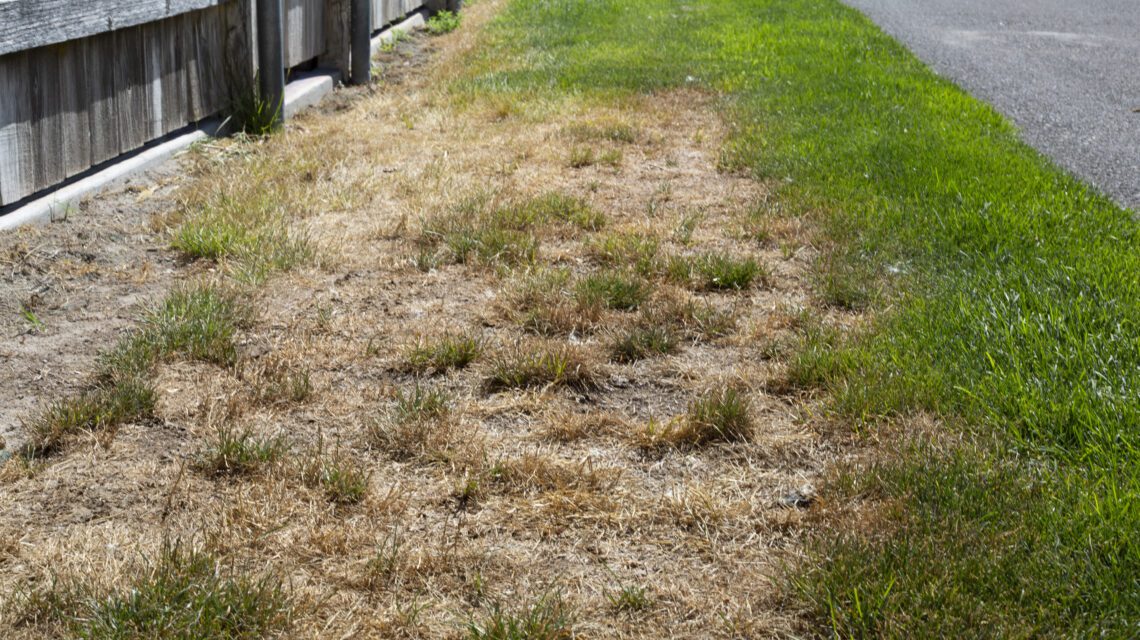
Image Source: stewartslawn.com
Why Replant Your Lawn?
Reasons to give your lawn a fresh start:
- Weed Infestation: If weeds have taken over, it might be easier to start anew.
- Bare Patches: Extensive areas of dead or thin grass make replanting a good option.
- Poor Grass Quality: Old, worn-out grass varieties may not perform well.
- Disease or Pest Damage: Severe damage can necessitate replanting.
- Establishing New Landscaping: After construction or major changes.
Preparing for Lawn Renovation: Key Steps
Successful lawn renovation starts with thorough preparation. Think of it as building a strong foundation for your new lawn. This means tackling existing problems and creating an ideal environment for grass seed to sprout and thrive.
Step 1: Assess Your Current Lawn
Before you grab a shovel, take a good look at what you’re working with.
- Identify the problem: Are weeds the main issue? Are there bare spots? Is the grass thin all over?
- Consider the soil: Is it compacted? Does it drain well?
- Sunlight: How much sun does your lawn get? This is crucial for choosing the right grass seed.
Step 2: Clear the Area
You need a clean slate for your new lawn.
- Remove Debris: Rake up leaves, twigs, rocks, and any other clutter.
- Kill Existing Vegetation: This is a critical step. You have a few options:
- Herbicides: Non-selective herbicides like glyphosate will kill all vegetation, including grass and weeds. Follow product instructions carefully and consider the timing. You’ll need to wait the recommended period before seeding.
- Smothering: For a more natural approach, you can cover the lawn with cardboard or thick layers of mulch. This takes longer, often several weeks to a couple of months, but is chemical-free.
- Manual Removal: For small areas, you can dig up the existing grass and weeds. This is labor-intensive.
Step 3: Soil Preparation for Lawn
This is perhaps the most crucial step for a healthy, lasting lawn. Good soil means good grass.
Testing Your Soil
- Why test? Soil tests reveal pH levels and nutrient deficiencies. Grass grows best in slightly acidic to neutral soil (pH 6.0-7.0).
- How to test: Purchase a soil test kit from a garden center or send a sample to your local cooperative extension office.
Improving Soil Quality
- Add Topsoil: If your soil is poor, compacted, or has heavy clay, mixing in 2-4 inches of good quality topsoil will make a big difference.
- Amendments:
- Compost: Adds organic matter, improves drainage, and provides nutrients.
- Peat Moss: Helps retain moisture, good for sandy soils.
- Lime: If your soil is too acidic (low pH), lime will raise it.
- Sulfur: If your soil is too alkaline (high pH), sulfur will lower it.
- Till or Cultivate: Loosen the soil to a depth of 4-6 inches. This helps with root growth and water penetration. You can use a tiller, garden fork, or rototiller. Remove any rocks or debris that surface.
Aerating Lawn Before Seeding
- What is aeration? Aeration involves making small holes in the soil. This reduces compaction, improves air and water circulation, and makes it easier for grass roots to grow.
- When to aerate: It’s best to aerate just before you plan to seed.
- How to aerate: Use a core aerator (which pulls out plugs of soil) or a spike aerator. Core aeration is generally more effective. If you have very compacted soil, this step is essential.
Choosing the Right Grass Seed Types
Selecting the correct grass seed is vital for a lawn that thrives in your specific climate and conditions.
Cool-Season Grasses
These grasses grow best in moderate temperatures, with active growth in spring and fall. They can go dormant in extreme heat or cold.
- Kentucky Bluegrass: Known for its beautiful blue-green color and ability to repair itself. It requires full sun and consistent moisture.
- Perennial Ryegrass: Germinates quickly, providing fast cover. It’s good for high-traffic areas but can be less cold-tolerant than other cool-season grasses.
- Fine Fescues (Creeping Red, Chewings, Hard): Excellent for shady areas and low-maintenance lawns. They are drought-tolerant once established.
- Tall Fescue: Deep roots make it very drought-tolerant and good for wear resistance. It has a coarser texture than other cool-season grasses.
Warm-Season Grasses
These grasses thrive in hot summer climates and go dormant (turn brown) in the winter.
- Bermuda Grass: Very drought and heat tolerant, recovers quickly from wear. It requires full sun and can be aggressive.
- Zoysia Grass: Forms a dense, durable sod. It’s heat and drought tolerant and can tolerate some shade. It establishes slowly.
- Centipede Grass: Low-maintenance, slow-growing, and prefers acidic soil. It has a fine texture and handles heat and humidity well, but not drought.
- St. Augustine Grass: Tolerant of shade and salt spray, making it good for coastal or partially shaded areas. It prefers warm climates and can be susceptible to chinch bugs.
Understanding Seed Blends and Mixtures
- Blends: Contain different varieties of the same grass species (e.g., several types of Kentucky Bluegrass). This provides a range of characteristics like disease resistance and color.
- Mixtures: Contain different grass species (e.g., Kentucky Bluegrass, Perennial Ryegrass, and Fine Fescue). This offers wider adaptability to varying conditions like sun, shade, and soil types.
When selecting a seed, consider:
- Climate: Choose a grass type suited to your region’s temperatures and rainfall.
- Sunlight: Does the area get full sun, partial shade, or deep shade?
- Traffic: Will the lawn see a lot of foot traffic, or is it mostly for show?
- Water availability: How much watering can you realistically provide?
- Maintenance: Do you want a low-maintenance lawn, or are you prepared for more frequent mowing and fertilizing?
Best Time to Reseed Lawn
The timing of your seeding project is critical for success.
For Cool-Season Grasses:
- Late Summer to Early Fall (August to October): This is often considered the absolute best time.
- Why? Soil temperatures are still warm enough for germination, but air temperatures are cooling down. This allows seedlings to establish before winter frost. Existing weeds are less competitive.
- Early Spring (March to May): This is the second-best option.
- Why? Soil is warming up, and there’s plenty of moisture. However, you’ll face more competition from summer annual weeds, and the young grass might struggle during the heat of summer if not well-established.
For Warm-Season Grasses:
- Late Spring to Early Summer (May to July):
- Why? These grasses need warm soil to germinate and grow. Seeding too early in spring when the soil is still cool can lead to poor germination or the seeds dying off.
Factors to consider for timing:
- Temperature: Seed needs specific soil temperatures to germinate.
- Moisture: Consistent moisture is key, so avoid periods of extreme drought.
- Weed Pressure: Plan to seed when weed competition is lowest.
- Your Schedule: Ensure you have time to water diligently after seeding.
Lawn Seeding Steps: A Detailed Breakdown
Now that you’ve prepared the ground and chosen your seed, it’s time to sow.
Step 1: Apply Lawn Starter Fertilizer
- What is it? Lawn starter fertilizer is a specially formulated fertilizer designed to promote root development and seedling growth. It typically has a higher phosphorus content (the middle number in the N-P-K ratio).
- When to apply: Apply it before or at the time of seeding.
- How to apply: Use a spreader for even distribution according to the product’s instructions.
Step 2: Spread the Grass Seed
- Use a Spreader: A broadcast spreader (also called a rotary spreader) is best for even seed distribution over large areas. For smaller areas or overseeding, a drop spreader can be more precise.
- Calculate Amount: Follow the recommended seeding rate on your seed bag. It’s usually given in pounds per 1,000 square feet. It’s better to slightly over-seed than under-seed.
- Divide and Conquer: For even coverage, divide the seed into two equal amounts. Spread the first half walking in one direction (e.g., north-south) and the second half walking at a perpendicular angle (e.g., east-west). This ensures no spots are missed.
Step 3: Rake the Seed into the Soil
- Gentle Raking: Use a lawn rake or a stiff broom to gently rake the seed into the top 1/8 to 1/4 inch of soil. This ensures good seed-to-soil contact, which is vital for germination.
- Avoid Burying Too Deep: If you bury the seed too deeply, it won’t have enough energy to reach the surface.
Step 4: Apply a Thin Layer of Mulch (Optional but Recommended)
- What kind? Use a thin layer (about 1/4 inch) of clean straw, peat moss, or a specialized seed-starting mulch.
- Why? Mulch helps retain soil moisture, keeps the soil temperature more consistent, and prevents the seeds from washing away in rain or irrigation. It also helps protect the seed from birds.
- Ensure Visibility: Make sure you can still see the soil through the mulch. Too much mulch will smother the seedlings.
Step 5: Watering New Lawn
This is arguably the most critical ongoing step for new seed.
- Initial Watering: Immediately after seeding and mulching, water the entire area gently but thoroughly. The goal is to moisten the soil without creating puddles or washing away the seed.
- Keep it Moist: The most important rule is to keep the soil consistently moist until the grass is established. This means light watering once or twice a day, depending on the weather. The surface should never dry out completely.
- When to Reduce Watering: Once the grass reaches about 1 inch in height, you can start to reduce the frequency of watering and allow the soil surface to dry slightly between waterings. Gradually transition to a deeper, less frequent watering schedule as the grass matures.
- Watering Technique: Use a sprinkler that produces a fine mist to avoid disturbing the seed.
Step 6: First Mowing
- When to Mow: Wait until the new grass reaches about 3 inches in height.
- Mowing Technique:
- Sharp Blade: Ensure your mower blade is sharp. A dull blade tears the grass, making it susceptible to disease.
- Raise the Deck: Set your mower to the highest setting.
- Never Remove More Than One-Third: Do not cut off more than one-third of the grass blade’s height in a single mowing. If the grass is getting too tall between mowings, mow more frequently.
- Bag Clippings (Optional): For the very first mow, you might consider bagging the clippings to avoid any potential issues, although leaving them is usually fine if they are short.
Step 7: Ongoing Care
- Fertilizing: Wait until the new grass has been mowed at least 2-3 times before applying any further fertilizer. Use a starter fertilizer or a balanced lawn fertilizer.
- Weeding: Hand-pull weeds as they appear, especially when the grass is young, as you don’t want to use herbicides that could damage the new seedlings.
- Pest and Disease Watch: Keep an eye out for any signs of pests or diseases and address them promptly.
Overseeding Lawn: A Quick Refresh
If your lawn is mostly healthy but has thin areas or a few bare spots, overseeding is a great way to fill it in without a full renovation.
When to Overseed
- Cool-Season Grasses: Fall is ideal, followed by early spring.
- Warm-Season Grasses: Late spring to early summer.
Overseeding Lawn Steps
- Mow Low: Mow the existing lawn at a lower setting than usual.
- Aerate: Aerating the lawn before overseeding is highly recommended. This opens up the soil for better seed-to-soil contact.
- Remove Thatch: If thatch (a layer of dead grass and debris) is more than half an inch thick, dethatch the lawn.
- Spread Seed: Use a spreader to apply the seed at about half the rate you would for a full renovation.
- Rake Gently: Lightly rake the seed into the soil to ensure contact.
- Fertilize: Apply a starter fertilizer.
- Water Consistently: Keep the soil moist until germination and establishment.
Repairing Bare Patches
For small, isolated bare spots, a more targeted approach is best.
Steps for Repairing Bare Patches:
- Loosen Soil: Use a rake or trowel to loosen the soil in the bare patch to a depth of about 2-3 inches.
- Add Topsoil (Optional): If the spot is depressed, add a small amount of good quality topsoil.
- Smooth Area: Rake the area smooth, removing any debris.
- Seed: Sprinkle grass seed over the loosened soil. Choose a seed that matches your existing lawn as closely as possible.
- Rake Lightly: Gently rake the seed into the soil.
- Water: Keep the area consistently moist until the grass establishes.
- Protect: You can use a small piece of straw or a garden stake with a plastic bag to help retain moisture and deter birds.
Common Issues and How to Solve Them
| Problem | Cause | Solution |
|---|---|---|
| Poor Germination | Dry soil, seed buried too deep, old seed, incorrect temperature. | Ensure consistent moisture, rake seed to 1/8-1/4 inch depth, check seed viability date, plant at the correct time of year for your grass type. |
| Seed Washed Away | Heavy rain or over-watering on slopes. | Use a sprinkler with a fine mist, water gently and frequently, consider using mulch on slopes, install erosion control netting if necessary. |
| Weeds Outcompeting Seed | Seeding at the wrong time, heavy weed pressure. | Prepare soil thoroughly, apply pre-emergent herbicides (if appropriate and compatible with seeding timing), hand-pull weeds as they appear, use a good quality seed mix. |
| Grass is Yellow | Lack of nutrients (especially nitrogen), over-watering, poor drainage. | Apply a balanced lawn fertilizer after the grass has been mowed a few times, adjust watering schedule, improve drainage if needed. |
| Grass is Thin | Poor soil, lack of sunlight, too much shade, improper mowing. | Improve soil with compost, consider reseeding or overseeding with shade-tolerant varieties if shade is an issue, adjust mowing height, ensure adequate watering and fertilization. |
Frequently Asked Questions (FAQ)
Q1: How long does it take for grass seed to grow?
A1: This depends on the grass type, soil temperature, moisture, and sunlight. Cool-season grasses can germinate in 5-10 days under ideal conditions, while warm-season grasses may take 2-3 weeks. Full establishment can take several weeks to a few months.
Q2: Can I seed my lawn in the summer?
A2: It’s generally not recommended for cool-season grasses due to heat stress and drought. Warm-season grasses can be seeded in the summer. For cool-season lawns, it’s best to wait for fall.
Q3: Do I need to remove my old lawn completely?
A3: Yes, for a full lawn renovation, removing the existing grass and weeds is crucial for best results. If you’re just overseeding or repairing bare patches, you don’t need to remove the existing lawn, but preparation like aeration is still important.
Q4: How often should I water my new lawn?
A4: Keep the soil consistently moist until the grass is about 2-3 inches tall. This often means light watering once or twice a day. Once established, transition to deeper, less frequent watering.
Q5: When is the best time to dethatch a lawn?
A5: For cool-season grasses, the best times to dethatch are during their active growing periods: early spring or early fall. For warm-season grasses, wait until late spring or early summer when they are actively growing.
Q6: What if I see weeds appearing in my new lawn?
A6: For young seedlings, it’s best to hand-pull weeds. Wait until the new grass is well-established (typically mowed 2-3 times) before considering any type of herbicide application, and always choose one safe for newly seeded areas.
By following these comprehensive steps, you can transform your lawn from a patchy, weed-infested eyesore into a lush, green carpet. Patience and consistent care are key to achieving the lawn of your dreams.