
Can you paint plastic lawn furniture? Absolutely! Painting your old plastic lawn furniture is a fantastic way to refresh its look, save money, and give your outdoor space a vibrant new feel. This guide will walk you through the simple steps to achieve a professional-looking finish, transforming tired pieces into stylish outdoor accents.
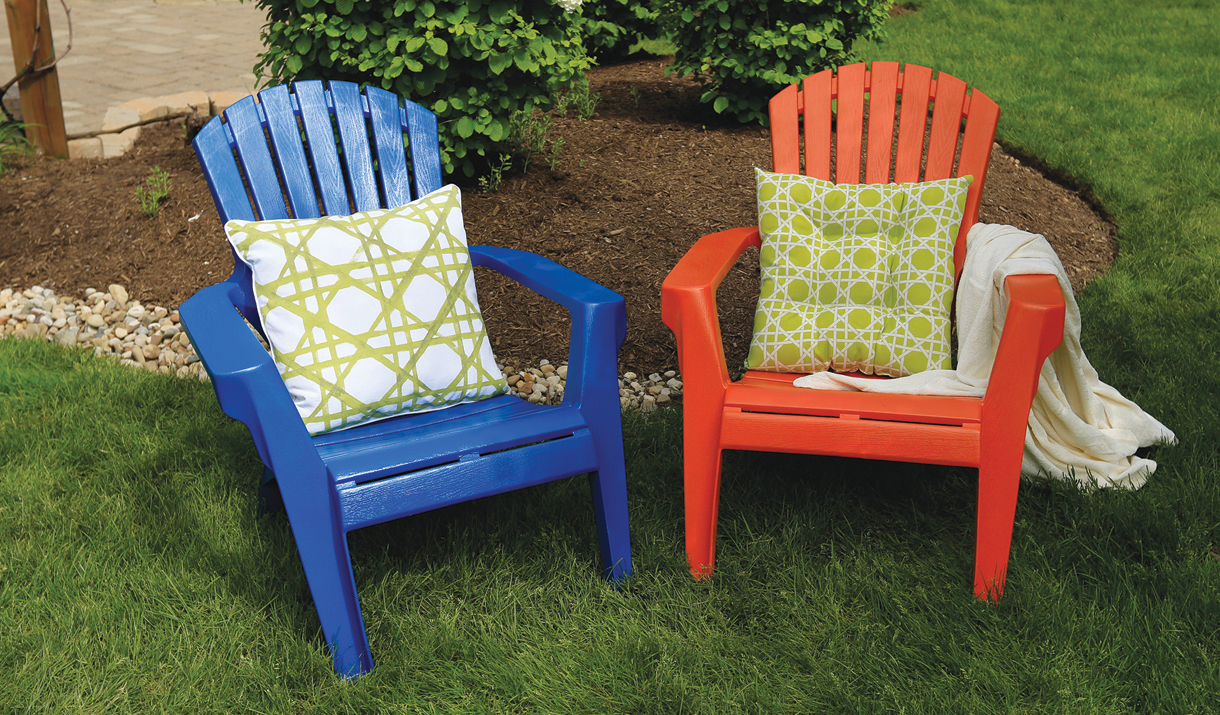
Image Source: www.krylon.com
Revitalizing Your Outdoors: A Guide to Painting Plastic Furniture
Faded, chipped, or just plain boring plastic lawn furniture can really bring down the mood of your patio or garden. Instead of buying new, why not try a budget-friendly DIY project? Painting plastic furniture is a game-changer for plastic furniture restoration. It’s easier than you think and the results can be stunning. This guide will help you with outdoor furniture refinishing so your chairs, tables, and loungers look brand new. We’ll cover everything from choosing the right paint to the final coat. Get ready to give your plastic patio furniture repaint a new lease on life!
What You’ll Need: Your Painting Toolkit
Before you start, gather your supplies. Having everything ready makes the painting process smooth and enjoyable.
- Cleaning Supplies:
- Bucket
- Mild soap or detergent
- Water
- Clean rags or sponges
- Hose or power washer (optional, but helpful for tough dirt)
- Prep Supplies:
- Sandpaper (120-220 grit) or sanding sponge
- Painter’s tape (if you need to protect certain areas)
- Drop cloths or old newspapers
- Painting Supplies:
- Plastic-specific spray primer (crucial for adhesion)
- Plastic-specific spray paint in your desired color
- Optional: Plastic-specific topcoat or sealant for extra durability
Choosing the Best Paint for Plastic Furniture
The biggest mistake people make is using the wrong paint. Not all paints stick well to plastic. You need paints specifically designed for plastic or multi-surface paints that include plastic in their list of compatible materials.
Spray paints are generally the best paint for plastic furniture because they provide a thin, even coat that adheres well. Look for paints labeled “for plastic” or “adhesion promoter.” Acrylic enamel spray paints are also a good choice as they are durable and weather-resistant.
- Spray Paints: Easiest to apply and provide a smooth finish.
- Latex or Acrylic Paints: Can be used with a brush or roller, but require a specific plastic primer and may not adhere as smoothly as spray paints.
Step-by-Step: Prepping Plastic for Paint
Proper preparation is key to a lasting paint job. This is where the magic happens, and it’s often the most skipped step. Following these steps will make sure your paint sticks and lasts. Prepping plastic for paint is essential.
Step 1: Thorough Cleaning
First, give your furniture a good scrub. Dirt, grime, mold, and mildew will prevent the paint from sticking.
- Wash: Mix mild soap with water in a bucket. Use a sponge or rag to wash down the entire piece of furniture. Get into all the nooks and crannies.
- Rinse: Rinse the furniture thoroughly with clean water from a hose. Make sure no soap residue remains.
- Dry: Let the furniture air dry completely. You can speed this up with clean cloths. Ensure it’s bone dry before moving on. Any moisture can cause paint to bubble or peel.
Step 2: Sanding for Adhesion
Plastic is smooth, and paint struggles to grip it. Sanding creates a slightly rough surface for the paint to adhere to. This is a vital part of sanding plastic furniture.
- Choose Grit: Use fine-grit sandpaper, typically 120 to 220 grit. A sanding sponge is also excellent because it can bend to the shapes of the furniture.
- Gentle Sanding: Lightly sand all surfaces you plan to paint. You don’t need to remove the original finish, just scuff it up. The goal is to create a dull, matte surface.
- Clean Again: After sanding, wipe down the furniture again with a damp cloth to remove all the sanding dust. Let it dry completely.
Table: Sandpaper Grits and Their Uses
| Grit Range | Description | Use for Plastic Furniture Prep |
|---|---|---|
| 80-100 | Coarse | Too aggressive, avoid |
| 120-180 | Medium | Good for initial scuffing |
| 220-320 | Fine | Excellent for final smoothing |
| 400+ | Very Fine | For polishing, not for prep |
Step 3: Priming Plastic Outdoor Furniture
Primer is your best friend when painting plastic. It acts as a bonding agent, ensuring the paint sticks properly and preventing chipping. Priming plastic outdoor furniture is non-negotiable for a long-lasting finish.
- Choose the Right Primer: Use a spray primer specifically formulated for plastic. These primers are designed to bond to slick surfaces.
- Apply Thin Coats: Hold the spray can about 8-10 inches away from the furniture. Apply light, even coats. Over-spraying can lead to drips and an uneven finish.
- Coverage: Ensure you cover all surfaces that will be painted. Pay attention to edges and curves.
- Drying Time: Let the primer dry completely according to the manufacturer’s instructions. This usually takes at least 30 minutes to an hour. You might need a second coat for full coverage, especially if you’re painting a dark color over a light one, or vice versa.
Step 4: Taping and Masking (Optional)
If your furniture has different colored parts or areas you don’t want to paint, use painter’s tape to mask them off. Ensure the tape is pressed down firmly to prevent paint from seeping underneath.
The Painting Process: Bringing Color Back
Now for the fun part – applying the color! This is where you can really make your furniture pop. Spray painting plastic chairs and other items is the most common and effective method.
Step 1: Applying the Color Coats
- Shake the Can: Thoroughly shake the spray paint can for at least a minute or two. This ensures the paint and propellant are well mixed.
- Test Spray: Before spraying your furniture, do a test spray on a piece of cardboard or scrap material to check the spray pattern and color.
- Light, Even Coats: Apply the paint in thin, even coats. Move the can in a steady, sweeping motion, overlapping each pass slightly.
- Distance Matters: Keep the can about 8-10 inches away from the surface. Too close and you’ll get drips; too far and the paint will be uneven and dusty.
- Coverage: Aim for complete coverage with each coat, but avoid trying to cover everything in one go. Multiple thin coats are always better than one thick coat.
- Drying Between Coats: Allow each coat to dry for the time recommended on the can before applying the next. This is usually 10-15 minutes, but can vary. Rushing this step can lead to peeling or a streaky finish.
- Number of Coats: You’ll likely need 2-3 coats for full, opaque coverage.
Step 2: Painting Vinyl Lawn Chairs
Painting vinyl lawn chairs follows the same principles as other plastic furniture. Vinyl can be a bit more flexible, so ensuring good adhesion with primer is especially important. Use the same prep steps and thin spray coats for a smooth, durable finish.
Step 3: Applying a Topcoat (Optional but Recommended)
For added durability and UV protection, consider applying a clear topcoat or sealant specifically designed for outdoor use and plastic. This will help protect your paint job from the elements and prolong its life.
- Choose a Topcoat: Look for a clear spray sealant or varnish that is suitable for plastic and outdoor use. A matte or satin finish will look most natural.
- Apply Thin Coats: Apply the topcoat in thin, even coats, just like the spray paint.
- Allow to Cure: Let the topcoat dry and cure completely. Curing time is usually longer than drying time, and the furniture should be left undisturbed for a period (check the product label).
Maintaining Your Newly Painted Furniture
Once your furniture is painted and looks fantastic, a little care will keep it that way for years to come.
- Cleaning: Clean your painted furniture periodically with mild soap and water. Avoid abrasive cleaners or scrub brushes that could scratch the paint.
- Protection: If possible, store your furniture indoors or cover it during harsh weather conditions (heavy rain, snow, intense sun) to protect the paint.
- Touch-ups: Minor chips or scratches can be touched up with a bit of spray paint. Clean the area, lightly sand, and reapply a light coat of paint.
Frequently Asked Questions (FAQ)
Q1: What is the best type of paint for plastic lawn furniture?
A1: The best paint for plastic lawn furniture is a spray paint specifically formulated for plastic or a multi-surface spray paint that lists plastic as a compatible material. These paints are designed to adhere well to smooth, non-porous surfaces.
Q2: Can I paint plastic furniture without sanding?
A2: While you can paint plastic furniture without sanding, it’s highly not recommended if you want the paint to last. Skipping the sanding step means the paint has nothing to grip onto, leading to peeling and chipping very quickly. Always scuff the surface for better adhesion.
Q3: Do I need to prime plastic furniture before painting?
A3: Yes, priming plastic outdoor furniture is crucial. Plastic surfaces are very smooth, and most paints will not adhere properly without a good quality plastic primer. The primer acts as a bonding agent, ensuring your paint job lasts.
Q4: What kind of sandpaper should I use for plastic?
A4: For sanding plastic furniture before painting, use fine-grit sandpaper, typically in the 120 to 220 grit range. A sanding sponge is also a great option as it conforms to the furniture’s shape. You only need to lightly scuff the surface to create a dull finish, not remove the original plastic.
Q5: How many coats of paint do I need for plastic furniture?
A5: You will generally need 2-3 thin, even coats of spray paint for plastic furniture. Applying multiple thin coats is always better than one thick coat, as it provides a more durable and even finish without drips or runs. Always allow adequate drying time between coats.
Q6: Can I use regular latex paint on plastic furniture?
A6: You can use regular latex or acrylic paint on plastic furniture, but only if you use a high-quality primer specifically designed for plastic first. Without the right primer, latex paint will likely peel off plastic surfaces very easily. Spray paints formulated for plastic are generally easier and more effective for this purpose.
Q7: How long does painted plastic furniture last?
A7: With proper preparation, the right paint, and good maintenance, painted plastic lawn furniture can last for several years. Factors like exposure to harsh sunlight, extreme temperatures, and abrasive cleaning can affect its lifespan. Applying a UV-resistant topcoat can significantly extend its durability.
Q8: What’s the best way to clean plastic furniture before painting?
A8: The best way to clean plastic furniture before painting is to wash it thoroughly with mild soap and water. Use a sponge or cloth to remove all dirt, grime, and mildew. Rinse it well and let it dry completely before proceeding with sanding and priming.
Q9: Can I paint over existing paint on plastic furniture?
A9: Yes, you can paint over existing paint on plastic furniture, but you must prepare the surface correctly. Clean the furniture, then lightly sand the existing paint to create a dull surface for the new paint to adhere to. If the old paint is peeling or damaged, you’ll need to remove it first. Then, apply a plastic primer before applying your new coats of paint.
Q10: What is a good durable paint for plastic?
A10: A good durable paint for plastic is typically an exterior-grade spray paint designed for plastic. Acrylic enamel spray paints are also very durable and weather-resistant. Using a plastic-specific primer and a clear topcoat designed for outdoor use will further enhance the durability of your painted plastic furniture.
This comprehensive approach ensures your plastic furniture restoration project yields beautiful and long-lasting results. Enjoy your refreshed outdoor space!