
Here’s a comprehensive guide on how to make your own lawn furniture cushions:
DIY How To Make Lawn Furniture Cushions
Can I make my own lawn furniture cushions? Yes, you absolutely can! Making your own lawn furniture cushions is a rewarding DIY project that allows you to personalize your outdoor space and save money. This guide will walk you through the entire process, from choosing the right materials to the final stitch, ensuring your DIY outdoor cushions are both beautiful and durable. We’ll cover everything you need to know to refresh your patio set by recovering patio cushions, replacing furniture pads, and even making seat cushions from scratch.
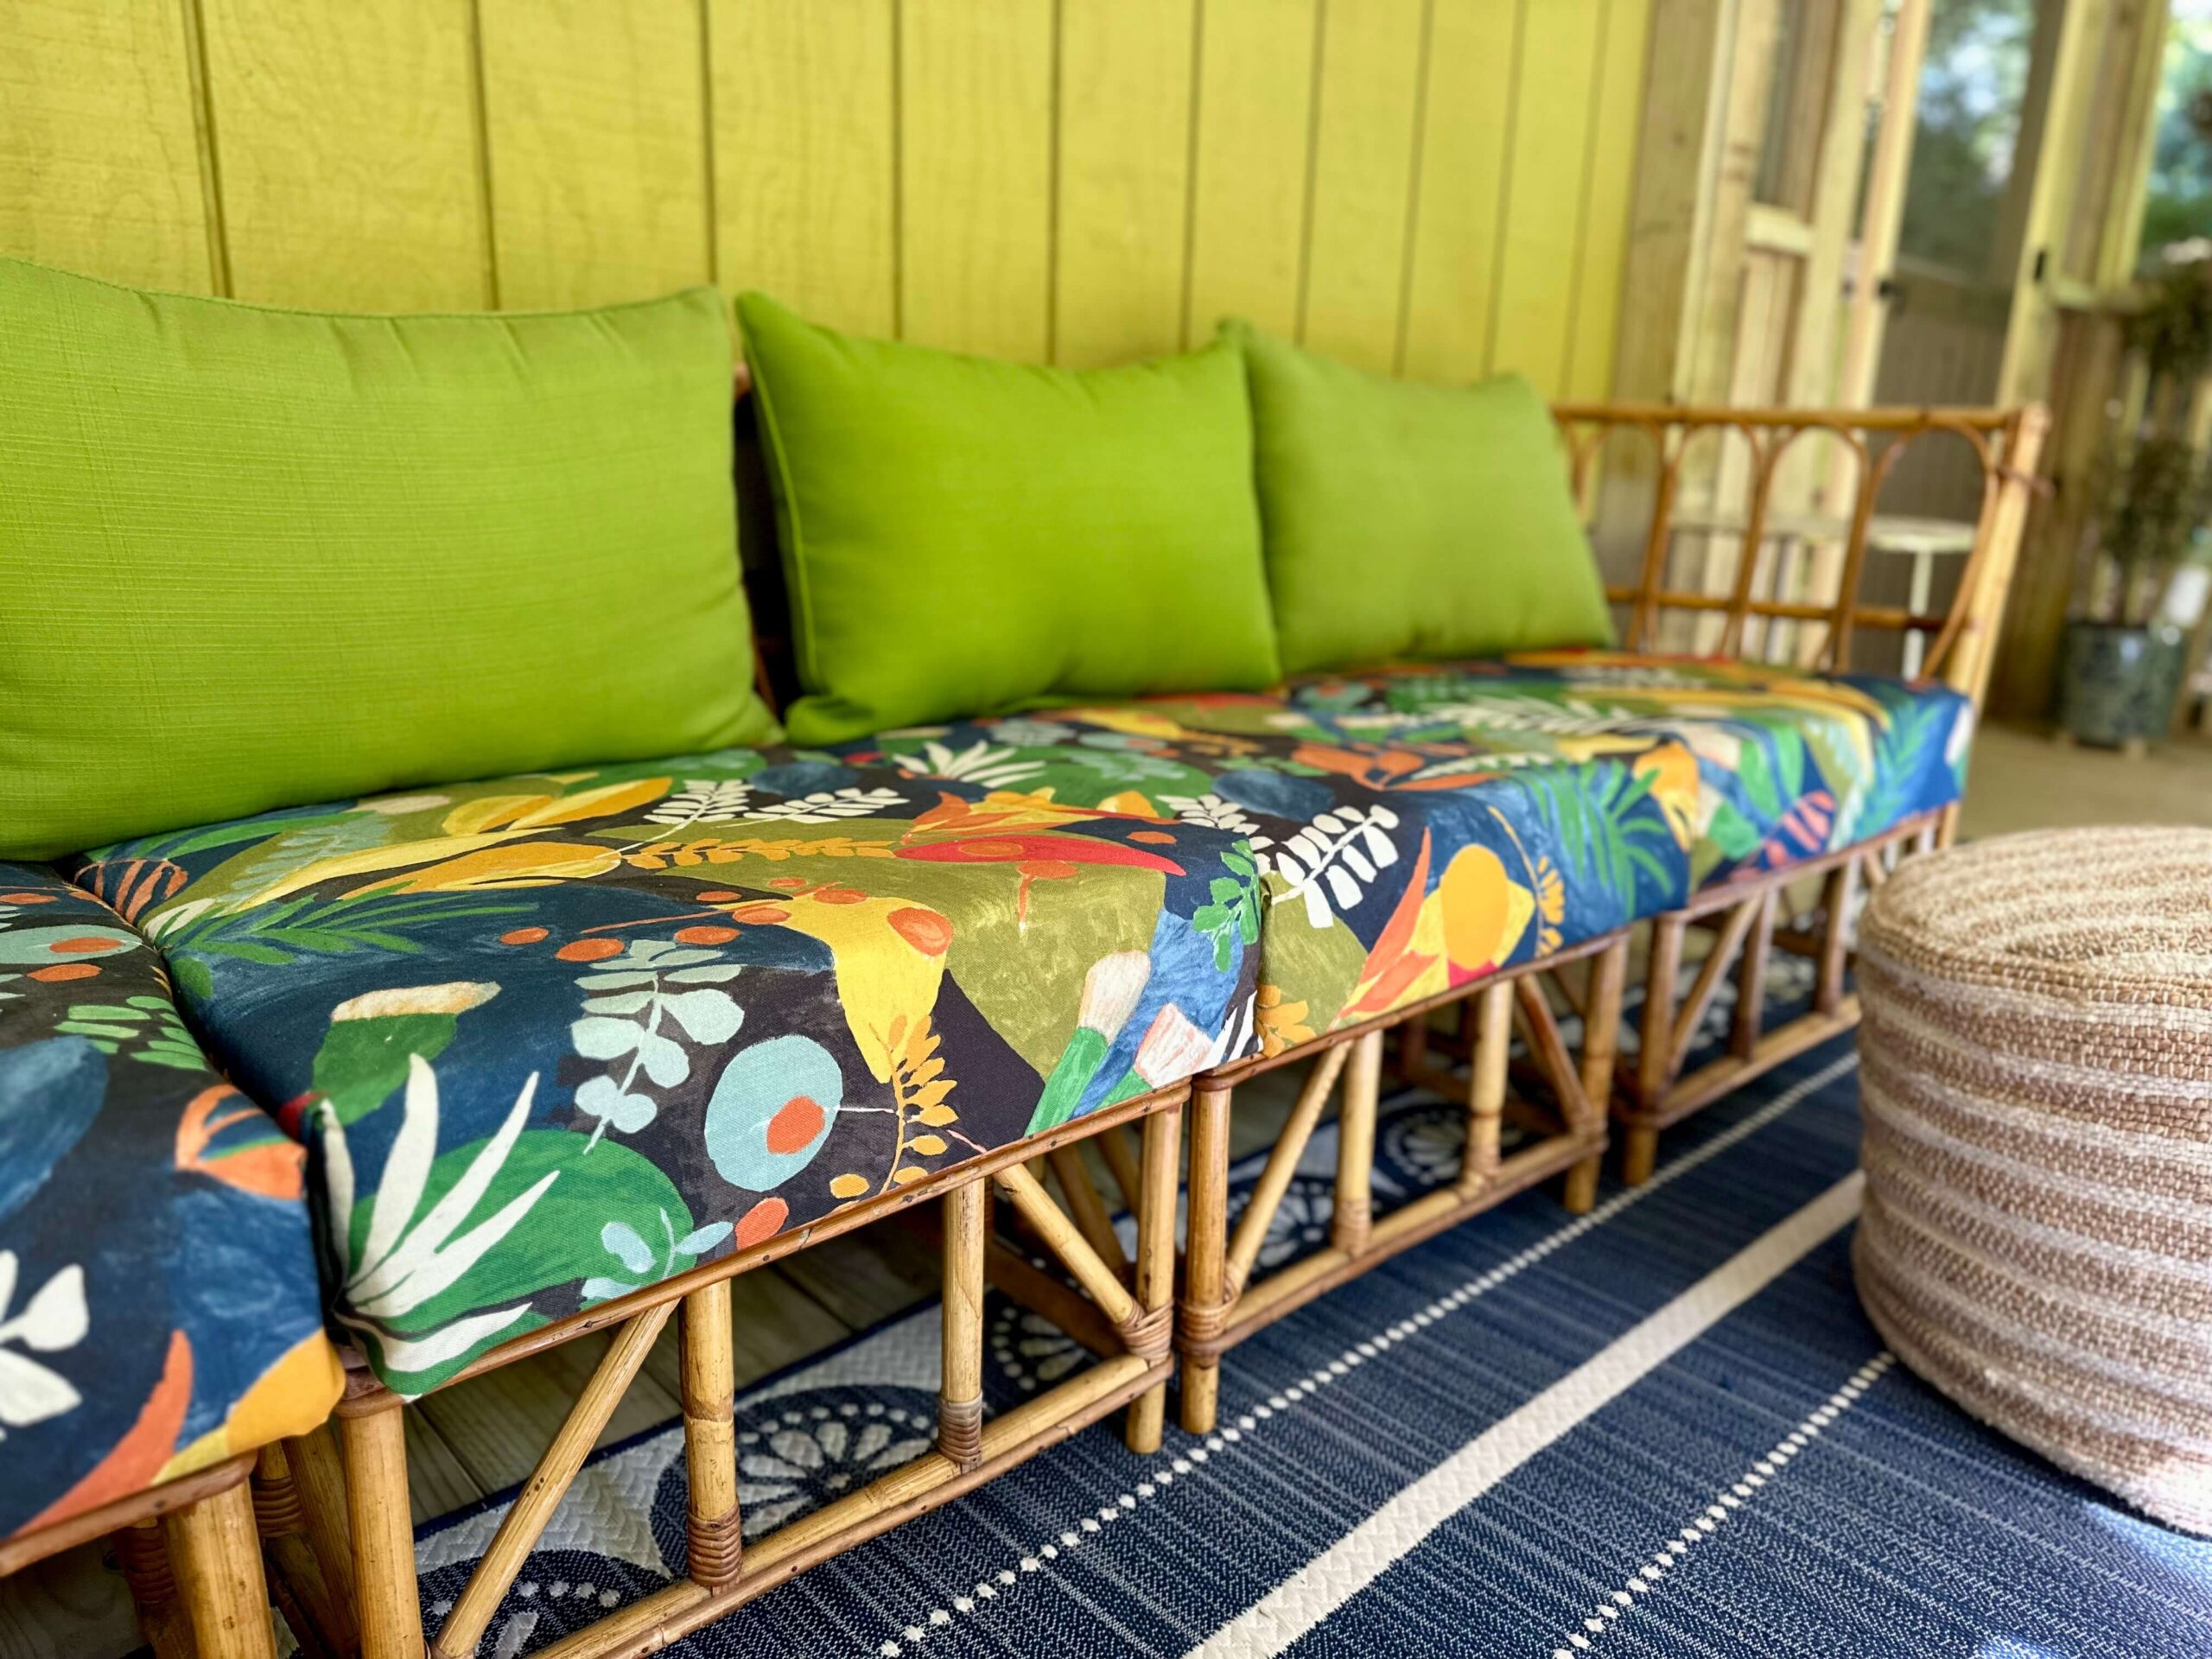
Image Source: alifeunfolding.com
Creating Beautiful and Durable Outdoor Cushions: A Step-by-Step Approach
Transforming your outdoor living area often starts with comfortable and stylish cushions. Whether you’re looking to update faded cushions or create entirely new ones, this guide provides all the details you need for weather-resistant cushion making. We’ll explore sewing outdoor fabric, discuss various cushion filling ideas, and even touch upon no-sew cushion covers for a quicker approach. Get ready to craft custom patio cushions that perfectly suit your style!
Step 1: Gathering Your Supplies
Before you begin making seat cushions, it’s crucial to have all your materials ready. This will make the process smoother and more enjoyable.
Essential Materials for Your DIY Cushions
-
Outdoor Upholstery Fabric: This is the most important choice for your DIY outdoor cushions. Look for fabrics specifically designed for outdoor use. These are typically treated to resist fading, water, mold, and mildew. Popular choices include:
- Acrylic Fabrics: Known for their vibrant colors, durability, and excellent resistance to UV rays and moisture. Brands like Sunbrella are a top choice.
- Polyester Fabrics: Often more budget-friendly than acrylic, they can still offer good water and UV resistance. Look for treated polyester.
- Olefin Fabrics: Similar to acrylic in performance, these are also durable and resistant to fading and stains.
Table 1: Comparing Outdoor Fabric Types
Fabric Type UV Resistance Water Resistance Mold/Mildew Resistance Durability Cost Acrylic Excellent Excellent Excellent Excellent High Polyester Good Good Good Good Medium Olefin Excellent Excellent Excellent Excellent Medium -
Cushion Filling: The right filling makes a big difference in comfort and how your cushions hold their shape. Consider these cushion filling ideas:
- Polyester Fiberfill (Poly-fil): A common and affordable option. It’s soft and gives a plush feel. For outdoor use, look for moisture-resistant varieties.
- Foam (Polyurethane Foam): Provides firmer support and holds its shape well. You can buy foam in different densities. For outdoor cushions, closed-cell foam is best as it doesn’t absorb water. High-density foam is ideal for seat cushions that see a lot of use.
- Batting: Often used in conjunction with foam or fiberfill to add an extra layer of softness and loft.
- Recycled Materials: Some crafters use shredded recycled foam or even old plastic bottles (processed into fiber) for a more eco-friendly approach.
-
Heavy-Duty Thread: Use polyester or nylon thread that is specifically designed for outdoor use. It will withstand the elements better than standard cotton thread.
- Zipper or Velcro Fasteners: A sturdy zipper or heavy-duty Velcro will allow you to remove the cushion covers for cleaning. Make sure they are outdoor-rated.
- Sewing Machine: While some no-sew cushion covers are possible, a sewing machine will make sewing outdoor fabric much easier and create more durable seams.
- Sewing Needles: Use sharp, heavy-duty needles for your sewing machine, suitable for thick outdoor fabrics.
- Measuring Tape: Essential for accurate measurements.
- Fabric Scissors: Sharp scissors are vital for clean cuts.
- Fabric Marker or Chalk: For marking your cutting lines.
- Pins: To hold fabric pieces together.
- Optional: Piping/Cording: For a more professional and finished look on your custom patio cushions.
Step 2: Measuring and Cutting Your Fabric
Accurate measurements are key to successful cushion making. This is where you’ll plan for replacing furniture pads with your new, custom-made ones.
How to Measure for Your New Cushions
- Measure Existing Cushions: If you’re recovering patio cushions, the easiest method is to measure your old cushions. Measure the length, width, and thickness of each cushion.
- Measure Furniture: If you don’t have existing cushions or want to change the size, measure the seating area of your furniture. Measure the length and width of the seat and the height (thickness) you desire for your new cushion.
- Add Seam Allowances: For each measurement, add extra fabric for seams and for any overlap needed for closures like zippers. A good rule of thumb is to add 1 inch to each side for seam allowances (0.5 inch on each side of a seam) and an extra 1-2 inches for any overlap or tuck-in allowance.
- Add for Piping (if used): If you plan to add piping, you’ll need extra fabric strips to create the piping itself.
Cutting Your Outdoor Fabric
- Layout: Lay your chosen outdoor upholstery fabric flat on a large surface. Ensure the fabric is smooth and wrinkle-free.
- Marking: Using your fabric marker or chalk and a ruler, carefully mark the dimensions for each piece of your cushion. Remember to include your seam allowances.
- You’ll typically need two main pieces for the top and bottom of the cushion.
- You’ll also need strips for the sides (bolsters), the height of your cushion. The length of these strips will be the perimeter of the cushion top/bottom, plus seam allowance.
- Cutting: Use your sharp fabric scissors to cut along the marked lines. Cut precisely to ensure your cushion pieces fit together correctly.
Step 3: Preparing the Fabric and Cushion Filling
This stage involves getting your materials ready for assembly, focusing on weather-resistant cushion making.
Preparing Your Fabric
- Pre-washing (Optional but Recommended): Even outdoor fabrics can shrink slightly. It’s a good idea to pre-wash your fabric according to the manufacturer’s instructions. This also helps to remove any sizing chemicals. If you pre-wash, press the fabric afterward to make it easier to work with.
- Ironing: If your fabric is wrinkled, iron it on the appropriate setting for your fabric type.
Preparing Your Cushion Filling
- Foam: If you’re using foam, cut it to the exact size of your cushion top/bottom. You can use a sharp utility knife or an electric carving knife for a clean cut. If the foam is too thick, you can use a serrated bread knife.
- Fiberfill: If you’re using fiberfill, you can create a simple fabric “bag” for the filling. Cut two pieces of the same size as your cushion top/bottom, sew them together around the edges (leaving an opening), and then stuff them firmly with fiberfill. Alternatively, you can stuff the fiberfill directly into the fabric cushion cover as you assemble it, but a separate bag can make stuffing easier.
- Batting: Wrap foam or fiberfill loosely with batting for a softer, rounded edge.
Step 4: Sewing Your Custom Patio Cushions
This is where the magic happens! We’ll cover the basics of sewing outdoor fabric for your DIY outdoor cushions.
Assembling the Cushion Cover (Zipper Closure)
- Prepare Zipper: Place one of the long edges of your top cushion piece and one of the long edges of your bottom cushion piece right sides together. Pin a zipper into this seam. It’s often easiest to sew the zipper to one piece first, then the other, and then zip them together.
- Sew Side Strips: Take one of your side strips. Pin it to the raw edge of the bottom cushion piece, right sides together, starting and ending at the zipper seam. Sew in place.
- Attach Other Side Strips: Continue attaching the side strips to the bottom cushion piece, one by one, until you’ve gone all the way around.
- Attach Top Cushion Piece: Now, take the top cushion piece. Pin it to the free edges of the side strips, right sides together, aligning it with the open end of the zipper. Sew in place, starting and ending at the zipper.
- Sew Remaining Seams: Carefully zip the zipper partially open. Now, sew the remaining three raw edges of the top cushion piece to the corresponding raw edges of the side strips. Do the same for the bottom cushion piece and its remaining raw edges. Ensure you’re sewing through all layers of the fabric.
- Turn and Stuff: Turn the cushion cover right side out through the open zipper. Stuff your chosen cushion filling ideas into the cover. Make sure to push filling into the corners for a neat finish. If you’re using foam, slide it into the cover.
- Close Zipper: Zip the cushion cover closed.
Assembling the Cushion Cover (No-Sew Option with Velcro)
For those who want a quicker option, no-sew cushion covers are achievable, especially with Velcro.
- Cut Fabric: Cut your fabric pieces as described in Step 2. You’ll need two main pieces for the top and bottom, and side strips.
- Attach Velcro to Side Strips: On the long edges of your side strips, attach one side of the Velcro fastener along the entire length. On the corresponding edges where the side strips will meet, attach the other side of the Velcro.
- Attach Velcro to Top/Bottom: On the edges of the top and bottom cushion pieces where the side strips will attach, carefully adhere the opposite side of the Velcro fastener.
- Assemble: Lay your bottom cushion piece flat. Attach the side strips to it using the Velcro. Then, place your filling on top of the bottom piece and side strips. Finally, place the top cushion piece on top and secure it to the side strips with Velcro. This method is generally best for fabric covers that are stuffed, rather than enclosing foam inserts.
Adding Piping for a Professional Finish
If you want to add piping to your custom patio cushions for a more polished look:
- Make Piping: Cut fabric strips on the bias (diagonally across the fabric weave) to create flexible strips about 1.5 to 2 inches wide. Fold these strips in half lengthwise around a cording or piping (you can buy pre-made piping or make your own by wrapping cording with fabric). Sew close to the cording to create your piping.
- Attach Piping to Cushion Pieces: Pin the piping to the right side of your cushion fabric pieces, aligning the raw edges. Sew the piping in place using a zipper foot or a piping foot on your sewing machine.
- Continue Assembly: Proceed with attaching the side strips and the other cushion piece as described above, ensuring the piping is caught in the seams.
Step 5: Final Touches and Care
Once your cushions are assembled and stuffed, a few final steps will ensure they look great and last longer.
Finishing Touches
- Fluff and Shape: Gently fluff and shape your cushions to distribute the filling evenly.
- Inspect Seams: Check all seams for any loose threads or missed stitches. Trim any stray threads.
- Waterproofing Spray (Optional): For an extra layer of protection, you can apply a fabric waterproofing spray specifically designed for outdoor fabrics. Follow the product instructions carefully.
Caring for Your Outdoor Cushions
- Regular Cleaning: Brush off loose dirt and debris regularly with a soft brush.
- Spot Cleaning: For spills or stains, blot the area immediately with a clean cloth. You can use a mild soap and water solution.
- Deep Cleaning: When a more thorough cleaning is needed, remove the cushion covers if possible. Wash them in cool water with a mild detergent. For stubborn stains, you might need to use a fabric stain remover. Always check the fabric manufacturer’s care instructions.
- Drying: Air dry your cushion covers completely before re-stuffing or putting them back on the furniture. Avoid using high heat in a dryer, as this can damage the fabric.
- Storage: During off-seasons or periods of inclement weather, store your cushions in a dry, protected area, such as a waterproof storage bench or a garage, to prolong their life and maintain their appearance.
Frequently Asked Questions (FAQ)
Q: What kind of fabric is best for outdoor cushions?
A: The best fabric for outdoor cushions is outdoor upholstery fabric, which is specifically treated to withstand sunlight, rain, mold, and mildew. Acrylic, polyester, and olefin are excellent choices.
Q: Can I use regular fabric for outdoor cushions?
A: While you can use regular fabric, it will not hold up well to the elements. It will fade quickly, absorb moisture, and is prone to mold and mildew, making it unsuitable for long-term outdoor use.
Q: How do I make cushions that won’t get moldy?
A: Choose outdoor upholstery fabric and weather-resistant cushion making techniques. Ensure your cushion filling ideas are also moisture-resistant, like closed-cell foam. Proper drainage and allowing cushions to dry out are also crucial.
Q: Is it hard to sew outdoor fabric?
A: Sewing outdoor fabric can be a bit tougher than regular fabric due to its thickness and sometimes slick texture. Using a heavy-duty needle, a strong thread, and a sewing machine with a powerful motor can make the process much easier. A walking foot attachment can also help feed the fabric evenly.
Q: What’s the difference between recovering patio cushions and making new ones?
A: Recovering patio cushions involves using the existing cushion inserts (foam or batting) and replacing the old fabric cover with a new one. Making seat cushions from scratch means you are creating both the insert and the cover, allowing for more customization in size, shape, and fill.
Q: Can I make outdoor cushions without a sewing machine?
A: Yes, you can make no-sew cushion covers using strong fabric glues or heavy-duty Velcro fasteners. However, sewn seams are generally more durable and longer-lasting for outdoor furniture.
Q: What are good cushion filling ideas for comfort and durability?
A: For comfort and durability in outdoor cushions, consider high-density foam for a firm base, or polyester fiberfill specifically treated for outdoor use. Wrapping foam with a layer of batting can add extra softness and a rounded shape.
By following this comprehensive guide, you can confidently embark on making seat cushions and DIY outdoor cushions that will enhance the beauty and comfort of your outdoor living space for seasons to come. Enjoy your beautifully crafted custom patio cushions!