
Can I plug a lawn? Yes, you can plug a lawn, and it’s a fantastic way to achieve a lush, healthy, and uniformly green yard. Plugging a lawn, also known as core aeration, is a process that involves removing small plugs of soil from your turf. This technique is crucial for improving your lawn’s overall health by allowing air, water, and nutrients to reach the root system.
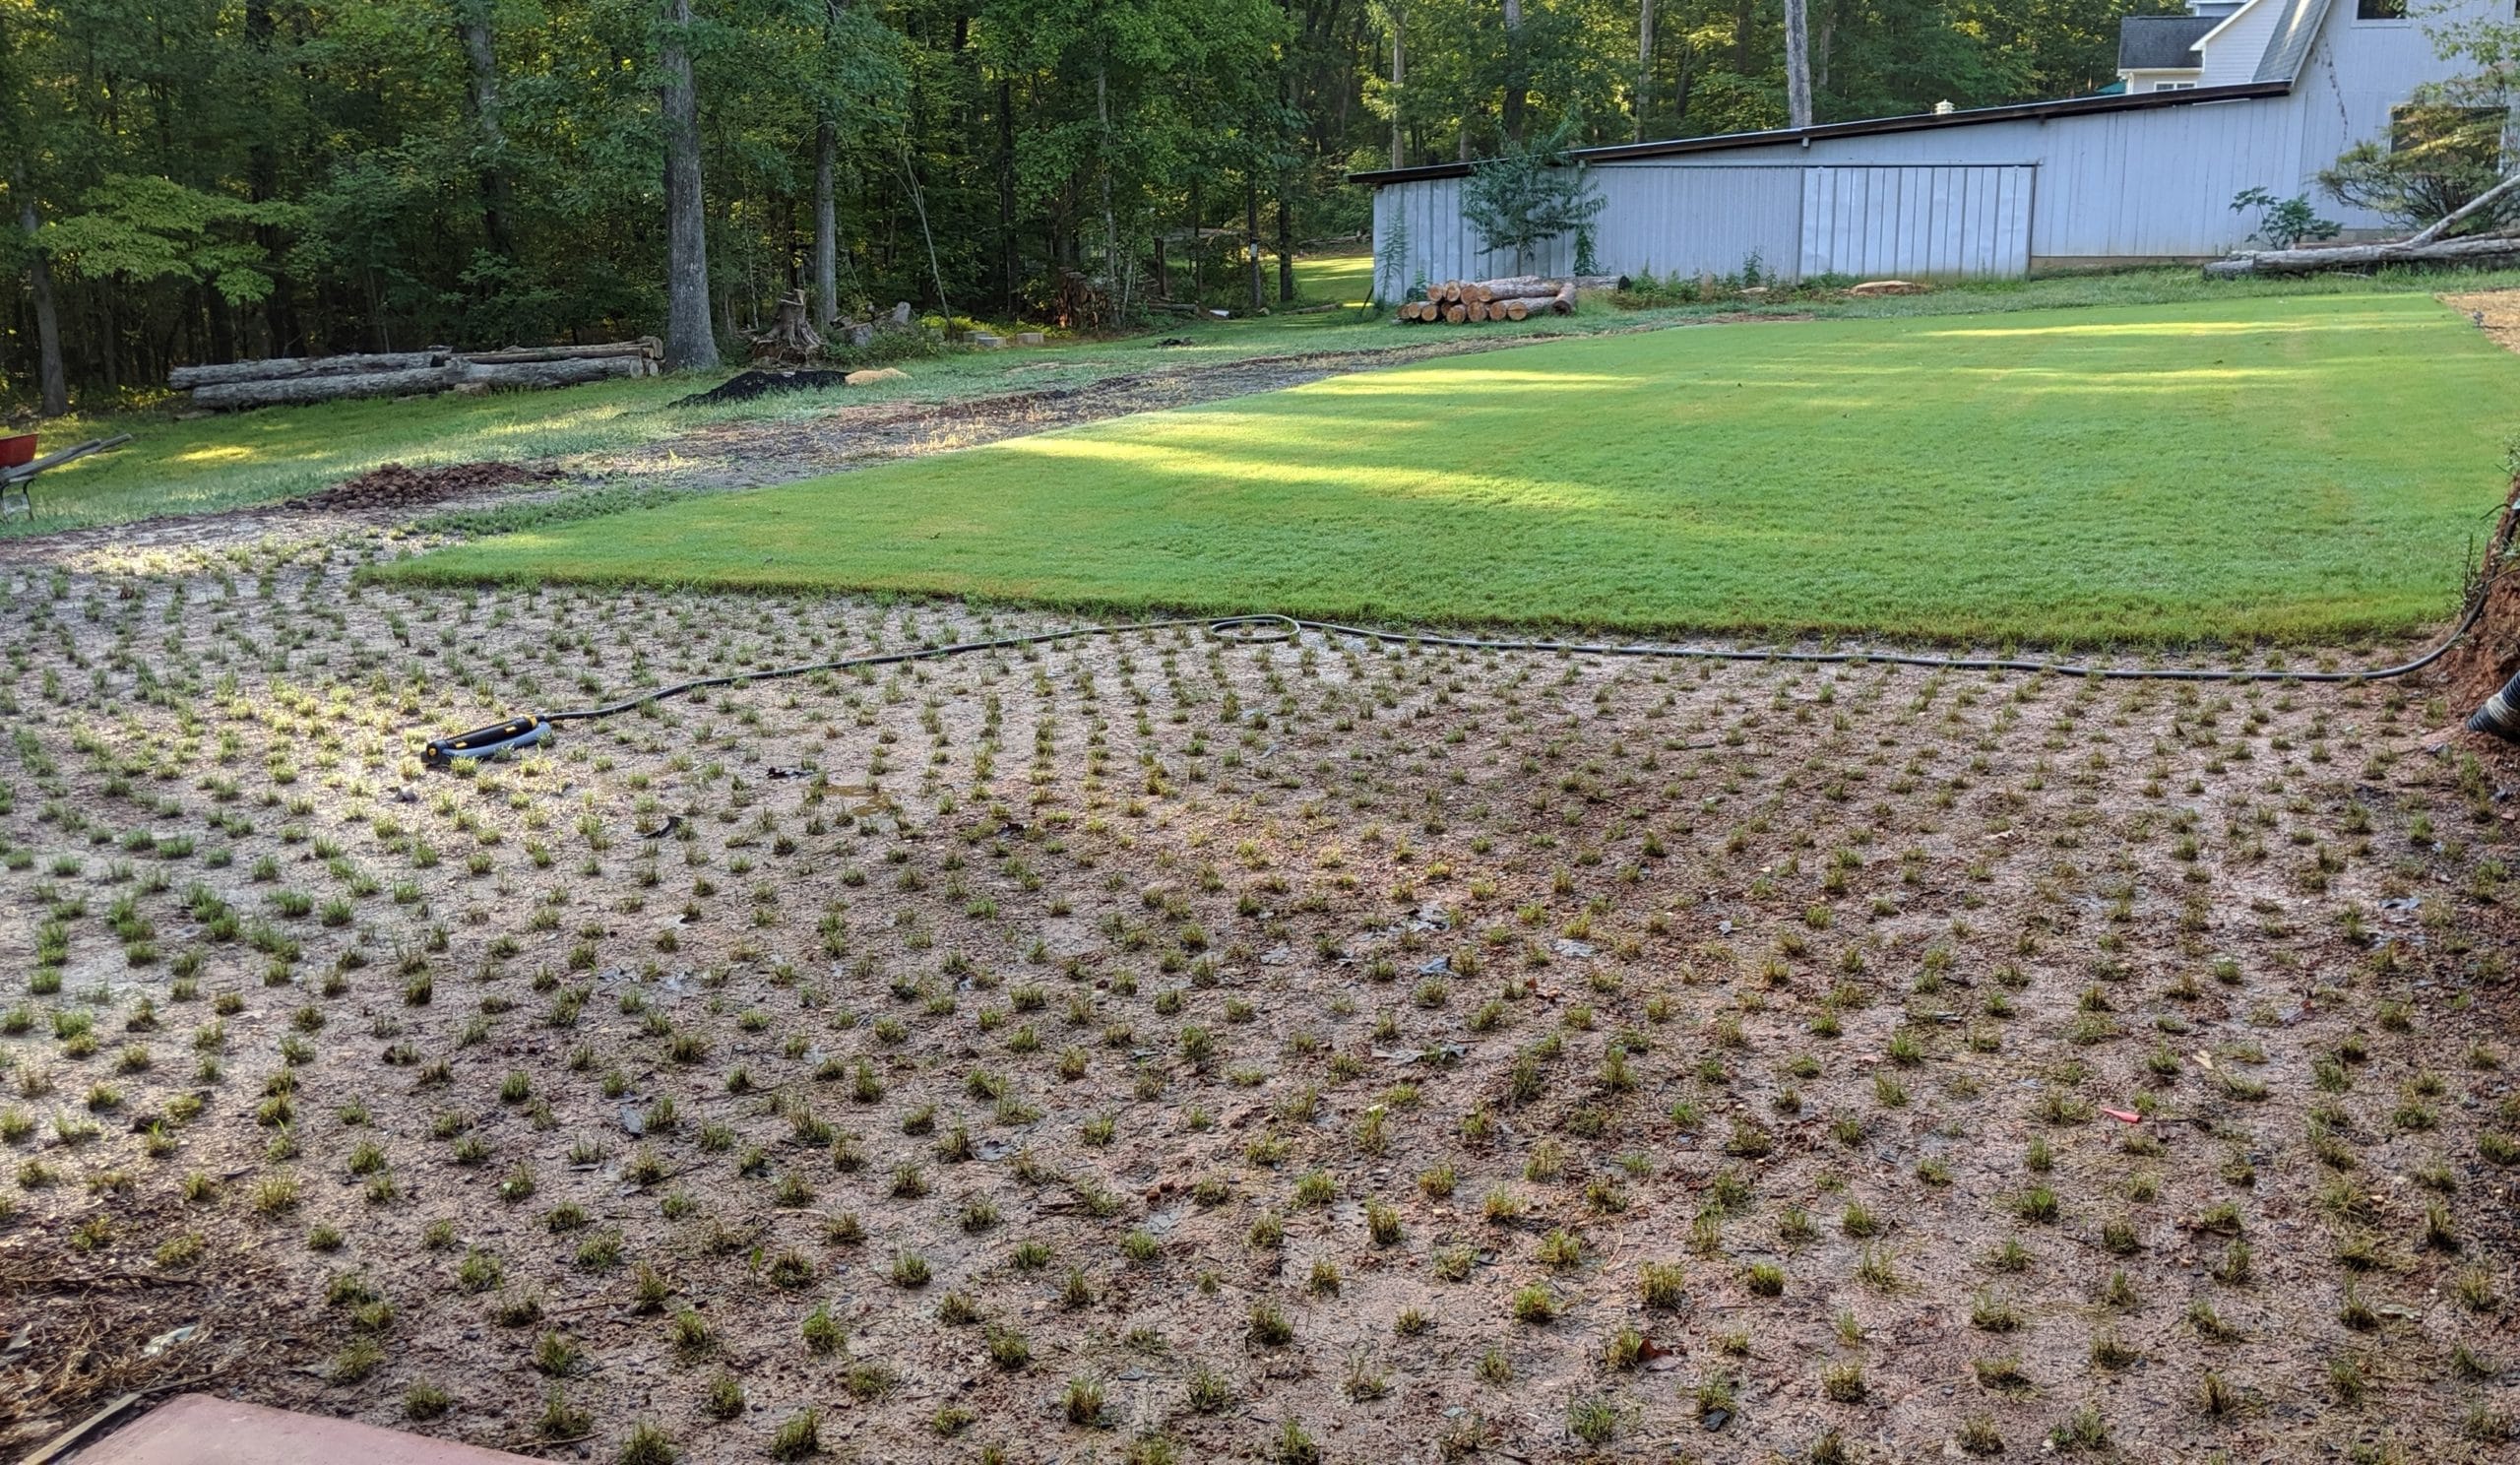
Image Source: proplugger.com
Why Plugging Your Lawn Matters
Over time, soil can become compacted, especially in high-traffic areas, from the weight of mowers, or even from natural settling. Compacted soil makes it difficult for essential elements to penetrate the ground and reach your grass’s roots. This leads to weaker grass, increased susceptibility to diseases, and a dull, unhealthy appearance. Plugging your lawn directly addresses this issue.
Benefits of Plugging
- Improved Air Circulation: Roots need oxygen to thrive. Plugging creates channels for air to reach the soil.
- Better Water Penetration: Water can seep deeper into the soil, reaching roots more effectively and reducing runoff.
- Enhanced Nutrient Uptake: Fertilizers and essential nutrients can now bypass compacted layers and be absorbed by the roots.
- Reduced Thatch Buildup: While not its primary purpose, plugging can help break down thatch, the layer of dead grass and organic matter that can choke out healthy grass.
- Stronger Root Development: With better access to air, water, and nutrients, grass roots grow deeper and stronger.
- Aids in Repairing Bare Spots: Plugging is an excellent preparation step for overseeding, helping you to repair lawn bare spots and patching lawn divots.
When is the Best Time to Plug a Lawn?
The ideal time to plug your lawn depends on your grass type.
Cool-Season Grasses
These grasses, such as fescue, ryegrass, and bluegrass, thrive in cooler temperatures and are typically best plugged in the early fall (September to October) or early spring (March to April).
- Early Fall: This is often considered the prime time. The weather is cooling, but the soil is still warm enough for roots to establish. It also allows the lawn to recover before winter dormancy and prepare for spring growth.
- Early Spring: Spring plugging can also be effective, but timing is critical. Plug too early, and you risk damaging dormant grass with frost. Plug too late, and you might stress the lawn as summer heat approaches.
Warm-Season Grasses
These grasses, like Bermuda, Zoysia, and St. Augustine, grow most actively in warm weather. The best time to plug them is in late spring or early summer, when they have fully emerged from dormancy and are actively growing.
How to Plug a Lawn: A Step-by-Step Guide
Plugging your lawn might seem daunting, but with the right tools and approach, it’s a manageable task that can dramatically improve your yard.
What You’ll Need
- Core Aerator: This is the key tool. You can rent a walk-behind core aerator from most garden centers or purchase a smaller, manual core aerator if your lawn is small or you prefer a more hands-on approach.
- Compost or Topsoil: High-quality compost or topsoil is essential for filling the holes.
- Grass Seed: Choose a seed that matches your existing lawn type.
- Fertilizer: A starter fertilizer can help new grass establish.
- Watering Source: Hose or sprinkler system.
- Leaf Rake or Scarifier (Optional): To clear debris and lightly dethatch.
- Spreader: For applying grass seed and fertilizer.
The Plugging Process
Step 1: Prepare the Lawn
Before you start plugging, it’s important to prepare your lawn.
- Mow the Grass: Mow your lawn to about 2-3 inches. This makes it easier for the aerator to penetrate the soil.
- Water the Lawn: Water your lawn a day or two before aerating. Slightly moist soil is easier for the aerator to work with than bone-dry or waterlogged soil.
- Clear Debris: Use a leaf rake or a scarifier to remove any leaves, sticks, or excessive thatch. This ensures the aerator can make good contact with the soil.
Step 2: Operate the Core Aerator
This is the main event.
- Rental Aerators: If you’re using a rental machine, read the operating instructions carefully. Typically, you’ll walk behind the machine and guide it across your lawn. The machine will automatically push tines into the soil and eject plugs of soil and thatch.
- Manual Aerators: For manual aerators, you’ll need to step on the tool to drive the tines into the ground. Then, twist and pull up to remove the soil plug. This is more labor-intensive but effective for smaller areas or stubborn compacted spots.
- Aeration Pattern: Aerate in a pattern that covers the entire lawn. Overlap each pass slightly to ensure thorough coverage. Aim to aerate in both directions (lengthwise and widthwise) for the best results, especially if you are looking to leveling uneven lawn areas or fix lawn damage.
Step 3: Address the Soil Plugs
Once the aerator has done its work, you’ll see many small soil cores scattered across your lawn.
- Leave Them or Break Them: Most experts recommend leaving the plugs on the lawn. As they dry out, they will break down naturally and return nutrients to the soil. You can lightly run over them with your mower (set to a higher height) to help break them up.
- Rake Them (Optional): If the plugs are very large or you want to speed up the process, you can gently rake them into smaller pieces. Avoid collecting and discarding them, as this removes valuable organic matter.
Step 4: Fill the Holes and Overseed
This is where you turn plugging into a restorative process.
- Filling Lawn Holes: Use a mixture of compost and topsoil to fill the holes. This is especially important for filling soil depressions or patching lawn divots. Work the mixture into the holes with a rake. The compost provides nutrients, and the topsoil helps create a good base.
- Overseeding: Now is the perfect time to seed patchy lawn areas or overseed bare areas. Spread a thin layer of grass seed over the entire lawn, paying special attention to the plugged areas. Use a spreader for even distribution.
- Applying Fertilizer: Apply a starter fertilizer according to the package directions. This provides the young grass seedlings with the nutrients they need to grow strong.
Step 5: Water and Maintain
Proper watering is crucial for new seed germination and established grass recovery.
- Watering Schedule: Keep the newly seeded areas consistently moist. This usually means light watering once or twice a day, depending on the weather. Avoid letting the soil dry out completely.
- Mowing: Avoid mowing for the first few times after overseeding. Let the new grass reach about 3-4 inches before the first cut. When you do mow, use a higher setting.
- Foot Traffic: Minimize foot traffic on the lawn until the new grass is well-established.
Troubleshooting and Advanced Techniques
Dealing with Stubborn Compaction
If you have areas of your lawn that are extremely compacted or have significant soil depressions, you might need to go over them twice with the aerator.
Mending Lawn Wear
For areas that show significant mending lawn wear, focus your overseeding efforts on those spots after plugging. Ensure the seed makes good contact with the soil by lightly raking the area before spreading the seed.
Filling Lawn Holes with Specific Materials
While compost and topsoil are generally best, in some cases, you might consider a specialized lawn repair mix. These often contain a blend of grass seed, starter fertilizer, and a soil amendment designed for rapid establishment.
Leveling Uneven Lawn Areas
If your goal is primarily to leveling uneven lawn areas caused by soil settling or minor divots, plugging and then filling with a quality topsoil blend can help smooth out the surface over time. For more significant leveling, you may need to lift plugs, add more substantial amounts of topsoil or sand underneath, and then replace the plugs.
When NOT to Plug Your Lawn
While plugging is beneficial, there are times when you should avoid it.
- Drought Conditions: If your lawn is already stressed from lack of water, aerating can exacerbate the problem.
- Extreme Heat: Aerating during the hottest part of summer can stress the grass.
- New Seedlings: Avoid aerating areas that have recently been seeded or sodded until they are well-established.
- Fungal Diseases: If your lawn is actively suffering from a fungal disease, aerating can spread the spores. Address the disease first.
Common Mistakes to Avoid
- Aerating Too Frequently: While beneficial, over-aerating can stress your lawn. Once every 1-2 years is usually sufficient for most lawns.
- Not Watering Properly: Under-watering or over-watering after plugging can hinder seed germination and root establishment.
- Using the Wrong Seed: Always use a grass seed that is appropriate for your climate and existing grass type.
- Ignoring Soil Type: Different soil types respond differently to aeration. Sandy soils may need less frequent aeration than clay soils.
Frequently Asked Questions (FAQ)
Q1: What is the ideal depth of the plugs removed during aeration?
A1: The ideal depth for core aeration plugs is typically between 2 to 4 inches. This ensures that the tines reach the compacted layers of soil.
Q2: Can I plug my lawn if I have a sprinkler system?
A2: Yes, but you must be extremely careful. Mark the locations of your sprinkler heads and any irrigation lines to avoid damaging them with the aerator tines.
Q3: How soon after plugging can I expect to see results?
A3: You should start seeing improved greenness and density within a few weeks, especially if you have overseeded. New grass seedlings will emerge within 7-21 days, depending on the seed type and conditions.
Q4: My lawn is full of weeds. Should I plug it?
A4: It’s best to tackle weed problems before or after aeration. Aerating can sometimes spread weed seeds. Consider applying a pre-emergent herbicide in spring or a post-emergent herbicide later in the season, and focus on healthy lawn practices to outcompete weeds.
Q5: How often should I plug my lawn?
A5: For most lawns, plugging once every one to two years is sufficient to combat compaction and maintain a healthy root system. Lawns with heavy clay soil or high foot traffic might benefit from annual aeration.
Conclusion
Plugging your lawn is a foundational practice for achieving a vibrant, healthy, and resilient yard. By following these steps, you can effectively fill lawn holes, repair lawn bare spots, patching lawn divots, and fix lawn damage. This process, from preparation to meticulous care after plugging, is key to leveling uneven lawn surfaces and fostering a lush landscape. Remember to seed patchy lawn areas and overseed bare areas with quality seed and nutrients to truly bring your lawn back to life, mending lawn wear, and filling soil depressions for a beautifully restoring lawn surface. A little effort in plugging can lead to a significantly greener and more enjoyable outdoor space.