
Yes, you absolutely can spray paint lawn furniture to give it a fresh, new look! It’s a fantastic way to revive worn-out pieces and update your outdoor space without a huge expense. This guide will walk you through everything you need to know for successful spray painting lawn furniture, turning old items into stylish additions to your patio or garden. We’ll cover everything from choosing the right paint to the final finishing touches, making outdoor furniture restoration a breeze.
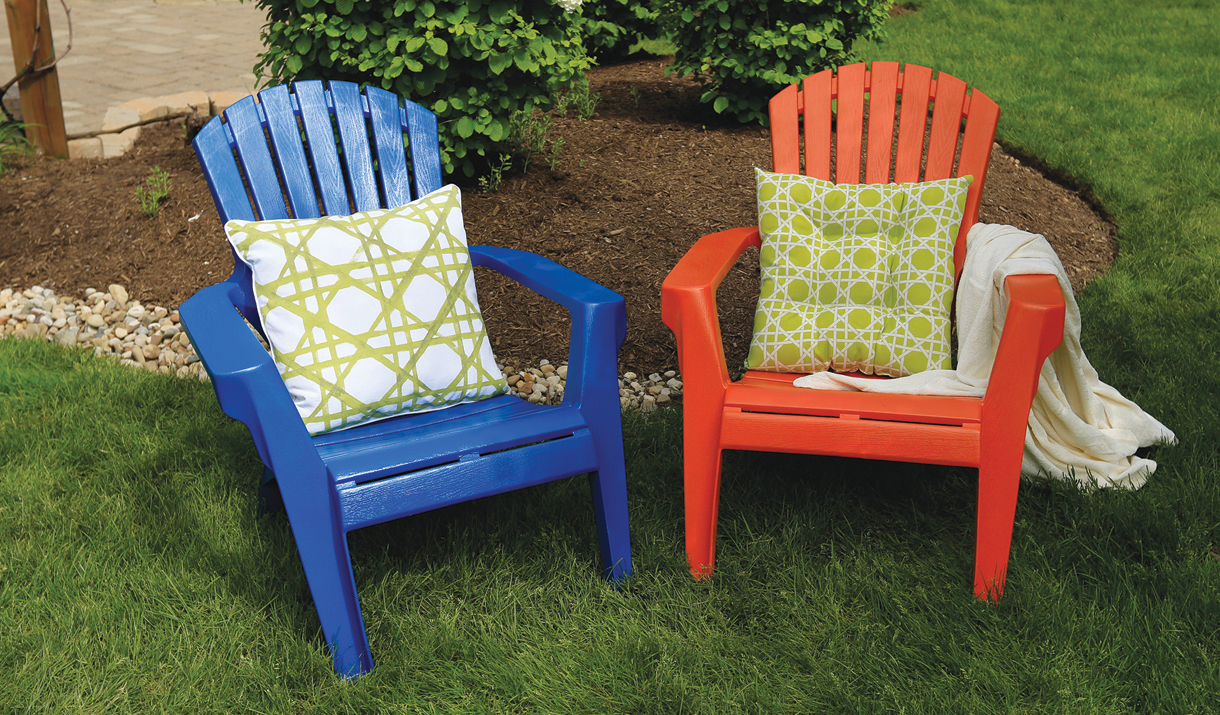
Image Source: www.krylon.com
Why Spray Paint Your Lawn Furniture?
Outdoor furniture often faces the harsh elements: sun, rain, wind, and temperature changes. Over time, this wear and tear can make even the sturdiest pieces look dull, faded, or even damaged. Spray painting offers a quick, efficient, and often more even finish compared to brushing, especially on intricate designs or challenging surfaces.
- Cost-Effective: It’s much cheaper than buying new furniture.
- Customization: You can choose any color to match your décor.
- Revitalization: Breathe new life into old or damaged pieces.
- Protection: A fresh coat of paint can add an extra layer of protection against the elements.
- Ease of Use: Spray cans are user-friendly for most DIY projects.
Gathering Your Supplies: What You’ll Need
Before you start, ensure you have all the necessary materials. This will make the process smoother and ensure a professional-looking finish.
Essential Tools and Materials:
- Spray Paint: Choose paint specifically designed for outdoor use. The type will depend on your furniture’s material.
- Primer: A good primer is crucial for adhesion and durability, especially on tricky surfaces.
- Cleaning Supplies: Mild soap, water, rags, sponges, and possibly a degreaser.
- Sandpaper: Various grits (e.g., 80-120 for roughing up, 180-220 for smoothing).
- Gloves: To protect your hands from paint and cleaning solutions.
- Masking Tape or Painter’s Tape: For covering areas you don’t want to paint.
- Drop Cloths or Tarps: To protect the surrounding area from overspray.
- Screwdriver/Wrench (if needed): To disassemble furniture if necessary.
- Wire Brush (optional): For removing rust or loose paint.
- Respirator Mask: Crucial for protecting your lungs from paint fumes.
- Safety Glasses: To protect your eyes from paint splatters.
Step 1: Choosing the Right Spray Paint
The type of spray paint you select is critical for a long-lasting and attractive finish. It all depends on what your lawn furniture is made of.
Paint Types for Different Materials:
- Plastic Furniture: For painting plastic patio furniture, look for spray paints specifically labeled for plastic. These paints contain additives that adhere well to plastic surfaces. The best spray paint for plastic furniture often includes a bonding agent. Without the right paint, the finish can peel or chip easily.
- Metal Furniture: For metal, especially if it’s prone to rust, you’ll want a paint designed for metal. Rust-Oleum spray paint for metal furniture is a popular and reliable choice. Many metal paints also act as a primer and rust inhibitor. For spray painting wrought iron furniture, rust prevention is key.
- Aluminum Furniture: Spray painting aluminum furniture requires a paint that adheres well to this non-porous metal. Aluminum can be smooth, so good surface preparation and primer are essential.
- Wicker Furniture: Spray painting wicker furniture can be done, but it requires a different approach. Because wicker has many nooks and crannies, a good, even spray is important. Use light, sweeping motions.
Step 2: Preparing Your Workspace
Proper preparation of your workspace is just as important as preparing the furniture itself. This will ensure a clean, safe, and effective painting session.
Setting Up Your Painting Area:
- Location: Choose a well-ventilated area, preferably outdoors, away from direct sunlight or strong winds. A garage with the door open or a shaded spot in your yard is ideal.
- Protection: Lay down drop cloths or tarps to protect the ground, surrounding plants, and any nearby structures from paint overspray. Extend the coverage well beyond the furniture.
- Ventilation: Good airflow is crucial when working with spray paint. Ensure there’s plenty of fresh air circulating.
- Safety First: Always wear a respirator mask to avoid inhaling paint fumes. Safety glasses are also a must to protect your eyes.
Step 3: Prepping Your Lawn Furniture
This is arguably the most important step for a durable and beautiful finish. Thorough prep work for spray painting furniture will make all the difference.
Cleaning:
- Remove Debris: Brush off any loose dirt, cobwebs, leaves, or other debris from the furniture.
- Wash Thoroughly: Use a mild soap and water solution. A sponge or soft brush can help remove stubborn dirt. For very grimy furniture, you might need a stronger cleaner or degreaser.
- Rinse Well: Ensure all soap residue is rinsed off.
- Dry Completely: Let the furniture air dry thoroughly. Damp surfaces will prevent paint from adhering properly. You can speed this up with towels or even a leaf blower.
Repairing and Smoothing:
- Remove Loose Paint/Rust: If there’s peeling paint or rust, use a stiff brush, scraper, or sandpaper to remove as much as possible. For metal, rust-Oleum spray paint for metal furniture often contains rust inhibitors, but removing existing rust is still best.
- Sanding:
- For Plastic: Lightly sand the surface with fine-grit sandpaper (180-220 grit). This creates a “tooth” for the paint to adhere to. You don’t need to remove the original finish, just scuff it up.
- For Metal: Use medium-grit sandpaper (80-120 grit) to remove rust and smooth rough spots. Then, follow up with finer grit (180-220 grit) to create a smooth surface.
- For Wicker: Sand any rough spots or areas with peeling paint.
- Wipe Down: After sanding, wipe the furniture with a clean, dry cloth or tack cloth to remove all dust. You can also wipe down with a damp cloth and let it dry completely.
Masking:
- Protect Undesired Areas: Use painter’s tape to cover any parts of the furniture you don’t want to paint. This includes hardware, fabric cushions (if they can’t be removed), or any decorative elements.
- Secure Tape: Press the edges of the tape down firmly to prevent paint from seeping underneath.
Step 4: Priming Your Furniture
Primer acts as a bridge between the furniture surface and the topcoat of spray paint. It helps the paint adhere better, ensures a more uniform color, and can block stains or rust.
When and Why to Prime:
- Plastic: Always prime plastic furniture, especially if it’s slick or glossy. A good primer will prevent chipping and peeling. Look for the best primer for outdoor furniture that is specifically formulated for plastic.
- Metal: If the metal has any rust or is bare, priming is essential. A rust-inhibiting primer is ideal.
- Bare Wood: If your furniture is wood, prime it to seal the grain and prevent moisture absorption.
- Dark Colors to Light: If you’re painting a dark piece a very light color, primer can help achieve full coverage with fewer topcoats.
How to Apply Primer:
- Shake the Can: Shake the primer can vigorously for the time recommended on the label (usually 1-2 minutes).
- Test Spray: Spray a small, inconspicuous area to check the spray pattern.
- Apply Thin Coats: Hold the can about 10-12 inches away from the surface. Spray in steady, even, back-and-forth strokes. Overlap each stroke by about 25-30% to ensure full coverage.
- Avoid Heavy Coats: It’s better to apply multiple thin coats than one thick coat, which can lead to drips and an uneven finish.
- Drying Time: Allow the primer to dry completely according to the manufacturer’s instructions before applying the topcoat. This is usually around 15-30 minutes for spray primers.
Step 5: Spray Painting the Furniture
This is where your furniture starts to get its new look! Patience and technique are key for a smooth, professional finish.
The Spray Painting Process:
- Shake the Paint Can: Just like the primer, shake the paint can thoroughly for at least 1-2 minutes.
- Test Spray: Spray a test area to ensure the color and application are as you expect.
- Apply Light, Even Coats:
- Distance: Hold the can 10-12 inches from the surface.
- Motion: Use smooth, consistent, back-and-forth sweeping motions.
- Overlap: Overlap each pass by about half to avoid missed spots and streaks.
- Arm Movement: Move your arm, not just your wrist, for more consistent strokes.
- Avoid Drips: Don’t spray too close or too heavily. If you see a drip forming, stop spraying and immediately wipe it away with a rag before it dries. You can also lightly sand down drips after they dry and reapply paint.
- Multiple Coats: Most projects will require at least 2-3 thin coats. Allow the recommended drying time between each coat. This is crucial for durability. Refer to the paint can for specific recoat times.
- Direction: Try to spray in one consistent direction for each coat. For example, all horizontal strokes for the first coat, then all vertical for the second, if your furniture shape allows for it. This can help create a more uniform finish.
- Work Systematically: Paint one section at a time, ensuring you cover all angles. For chairs, start with the legs, then move to the seat, back, and arms. For tables, do the legs and underside first, then the top.
Tips for Specific Furniture Types:
- Spray Painting Wicker Furniture: Hold the can at various angles to ensure paint reaches all the intricate weave. Light, sweeping motions are best to avoid pooling in the crevices.
- Spray Painting Wrought Iron Furniture: Pay close attention to any decorative scrollwork or crevices where rust might hide or reappear. Ensure thorough coverage with a rust-inhibiting paint or primer.
Step 6: Drying and Curing Time
Don’t rush this stage! Proper drying and curing are vital for the longevity of your painted furniture.
What’s the Difference?
- Drying Time: This is the time it takes for the paint to be dry to the touch. Manufacturers usually state this on the can (often 15-30 minutes).
- Curing Time: This is the time it takes for the paint to harden completely and reach its maximum durability. This can take anywhere from 24 hours to several days, or even a week or more, depending on the paint and environmental conditions.
What to Do During Drying and Curing:
- Handle with Care: Avoid touching or moving the furniture more than necessary while it’s drying.
- Allow Airflow: Ensure good ventilation throughout the drying process.
- Protect from Elements: Keep the furniture protected from rain, dew, dust, and direct sunlight until it’s fully cured.
- Recoat: Always wait for the recommended recoat time between layers of paint. Applying new paint too soon can cause the underlying layer to soften, leading to problems.
Step 7: Finishing Touches and Protection
Once the paint is fully dry and cured, you might consider a protective clear coat.
Applying a Clear Coat (Optional but Recommended):
A clear topcoat adds an extra layer of protection against UV rays, scratches, and the elements.
- Choose the Right Clear Coat: Select a clear spray coat designed for outdoor use and compatible with your paint. There are matte, satin, and gloss finishes available.
- Apply Thin Coats: Similar to the paint, apply the clear coat in thin, even layers, allowing for drying time between coats.
- Follow Instructions: Adhere to the manufacturer’s recommendations for application and drying times.
Reassembling and Placement:
- Remove Tape: Carefully remove any painter’s tape once the paint is dry to the touch. If you wait until it’s fully cured, the paint might peel with the tape.
- Reassemble: If you disassembled the furniture, reassemble it carefully.
- Placement: Place your beautifully restored furniture in its designated outdoor spot.
Maintaining Your Newly Painted Furniture
Proper care will extend the life of your freshly painted lawn furniture.
Care Tips:
- Regular Cleaning: Wipe down the furniture occasionally with a damp cloth to remove dirt and grime.
- Spot Cleaning: For spills or stains, clean them as soon as possible with mild soap and water.
- Winter Storage: If possible, store your furniture indoors or cover it with furniture covers during harsh winter months to protect it from extreme weather.
- Touch-Ups: Keep a can of your paint on hand for any minor touch-ups that may be needed over time.
Frequently Asked Questions (FAQ)
Q1: Can I spray paint any type of lawn furniture?
Generally, yes, but the success depends heavily on the material and proper preparation. Plastics, metals, and even some treated woods can be spray painted. You’ll need the right type of spray paint and primer for each material.
Q2: What is the best spray paint for plastic furniture?
The best spray paint for plastic furniture is one specifically labeled for plastic, often called “all-purpose” or “plastic bonding” spray paint. Brands like Krylon Fusion or Rust-Oleum Specialty Paint for Plastic are good options.
Q3: Do I need to prime metal furniture before spray painting?
Yes, priming metal furniture is highly recommended, especially if it shows any signs of rust. A good primer helps the paint adhere better and prevents future rust. Look for primers with rust-inhibiting properties.
Q4: Can I spray paint over existing paint on lawn furniture?
Yes, you can spray paint over existing paint, provided the old paint is well-adhered and not peeling. You’ll need to clean and lightly sand the surface to ensure the new paint adheres properly. If the old paint is in poor condition, it’s best to remove it entirely.
Q5: How many coats of spray paint do I need?
Most projects require 2-3 thin coats for even coverage and durability. Always allow adequate drying time between coats as recommended by the paint manufacturer.
Q6: What is the best primer for outdoor furniture?
The best primer for outdoor furniture depends on the material. For plastics, use a plastic-specific primer. For metal, use a rust-inhibiting metal primer. For wood, an exterior wood primer is suitable. Always check the label to ensure it’s suitable for exterior use and your furniture’s material.
Q7: How can I avoid drips when spray painting?
Drips are usually caused by holding the can too close to the surface, spraying too heavily, or stopping the spray mid-stroke. Hold the can the recommended distance away, use light, even strokes, and keep the can moving continuously. If a drip occurs, wipe it away immediately with a clean rag before it dries.
Q8: How long does spray-painted lawn furniture last?
With proper preparation, priming, and the right paint, spray-painted lawn furniture can last for several years. However, outdoor furniture is always exposed to the elements, so some wear and tear is inevitable. Regular cleaning and occasional touch-ups can help maintain its appearance.
Q9: Can I spray paint wicker furniture?
Yes, you can spray paint wicker furniture. Ensure thorough cleaning and prepare the surface by sanding any rough spots. Apply paint in light, even coats, moving the can at various angles to reach all the nooks and crannies of the weave.
Q10: What’s the difference between drying and curing time?
Drying time is when the paint is dry to the touch. Curing time is when the paint hardens completely and reaches its maximum durability. You can handle furniture after drying, but it needs to cure before it can withstand heavy use or weather.
Conclusion
Revitalizing your lawn furniture with a fresh coat of spray paint is a rewarding DIY project. By following these detailed steps, focusing on proper preparation, using the right materials like Rust-Oleum spray paint for metal furniture or the best spray paint for plastic furniture, and applying the paint with care, you can achieve a professional-looking finish. Embrace outdoor furniture restoration and enjoy your beautifully updated outdoor living space!