
Here’s how to start a clover lawn, step-by-step. You can absolutely start a clover lawn by planting clover seed directly into your existing lawn or preparing a new seedbed.
Dreaming of a lush, green lawn that’s also eco-friendly and low-maintenance? A clover lawn might be your perfect solution! Gone are the days when clover was seen as a lawn weed. Today, this hardy little plant is celebrated for its numerous clover lawn benefits, transforming ordinary yards into vibrant, sustainable landscapes. This guide will walk you through every step of creating your own beautiful white clover lawn or a charming micro clover lawn.
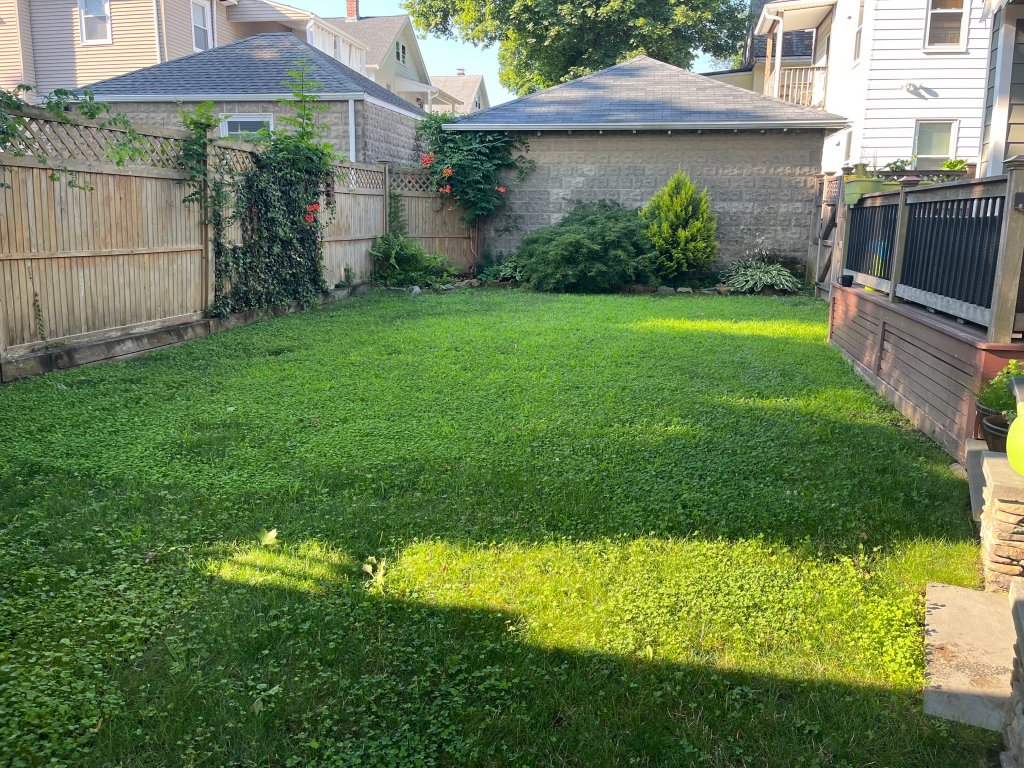
Image Source: sensible-sustainability.com
Why Choose a Clover Lawn?
Before we dive into the “how,” let’s explore the compelling reasons why a clover lawn is a fantastic choice for many homeowners.
Clover Lawn Benefits
- Nitrogen Fixation: This is the star benefit! Clover has a symbiotic relationship with bacteria in the soil that pull nitrogen from the air and convert it into a form that plants can use. This means your clover lawn naturally fertilizes itself and nearby grass, reducing or eliminating the need for chemical fertilizers.
- Drought Tolerance: Once established, clover is remarkably drought-tolerant. Its deep taproot can access water far below the surface, keeping your lawn green even during dry spells. This significantly reduces watering needs.
- Weed Suppression: The dense growth habit of clover outcompetes many common weeds, forming a thick mat that prevents weed seeds from germinating.
- Attracts Pollinators: Bees and other beneficial insects love clover flowers. While some people worry about bee stings, a well-maintained clover lawn with shorter clover varieties minimizes this concern. Plus, supporting pollinators is crucial for our ecosystem.
- Durability: Clover is tough! It can withstand moderate foot traffic and bounces back well after being mowed.
- Stays Green: Clover remains green longer into the fall and greens up earlier in the spring than many traditional turfgrasses.
- Reduced Mowing: Because clover grows more slowly and doesn’t require the same precise mowing heights as grass, you’ll likely find yourself mowing less often.
- Improved Soil Health: The nitrogen fixation and organic matter added by clover can improve overall soil structure and fertility.
Assessing Your Current Lawn and Goals
Before you grab your seed, take a moment to assess your existing lawn and what you hope to achieve.
Identifying Your Lawn Type
What is your current lawn made of? Is it mostly a specific type of grass, or a mix of grass and weeds? Knowing this helps determine the best approach.
Evaluating Soil Conditions
Clover generally prefers well-draining soil. It can tolerate a range of soil types but thrives in soils with a pH between 6.0 and 7.0. If your soil is heavily compacted or very acidic, clover lawn soil preparation will be more critical.
Defining Your Vision: White Clover vs. Micro Clover
- White Clover (Trifolium repens): This is the classic choice. It’s robust, spreads readily, and produces small, fragrant white flowers. It’s excellent at nitrogen fixation and tolerates foot traffic well.
- Micro Clover: A newer, dwarf variety of white clover. It has smaller leaves, stays shorter, and produces fewer flowers, making it ideal for a more manicured look and for those concerned about attracting bees to high-traffic areas. It’s also exceptionally drought-tolerant.
Clover Lawn Soil Preparation: The Foundation for Success
Proper clover lawn soil preparation is key to a thriving clover lawn. This step ensures good seed-to-soil contact and provides a healthy environment for germination.
Method 1: Overseeding an Existing Lawn
This is the most common and often easiest method. You’re essentially introducing clover into your current grass.
Steps for Overseeding:
- Mow Low: Mow your existing lawn as short as possible without scalping the grass. This allows the clover seed to reach the soil.
- Dethatch (Optional but Recommended): If your lawn has a thick layer of thatch (dead grass and debris), dethatching will improve seed-to-soil contact. You can rent a dethatcher or use a strong rake.
- Aeration (Optional but Highly Beneficial): Aerating your lawn creates small holes in the soil, allowing the seed to fall into them and get better contact. This is especially helpful for compacted soil.
- Rake Lightly: Gently rake the surface of your lawn to loosen the top layer of soil and create more bare spots for the seed.
- Spread the Seed: Use a broadcast spreader for even distribution. Follow the recommended seeding rate for your chosen clover type.
Method 2: Starting a New Clover Lawn from Scratch
If you’re starting with bare ground or renovating a severely damaged lawn, this method is for you.
Steps for a New Lawn:
- Remove Existing Vegetation: Kill any existing grass or weeds. You can do this by:
- Solarization: Covering the area with clear plastic sheeting during the hottest months.
- Tilling/Digging: Removing the top layer of sod.
- Herbicides (Use with caution): If using herbicides, ensure they are non-selective and allow sufficient time for them to break down in the soil before planting clover.
- Till or Loosen the Soil: Loosen the top 4-6 inches of soil using a tiller or a shovel.
- Rake Smooth: Rake the area to create a smooth, level seedbed. Remove any rocks, debris, or large clumps of soil.
- Amend the Soil (If Necessary): If your soil is poor, consider adding compost or other organic matter to improve its structure and fertility. A soil test can tell you if you need to adjust the pH or add specific nutrients. Clover doesn’t need a lot of fertilizer, but a good start helps.
Planting Clover Seed: When and How
The best time to plant clover depends on your climate. Clover is a cool-season legume, meaning it germinates best when soil temperatures are between 50-70°F (10-21°C).
Best Time to Plant Clover
- Spring: After the last frost, when soil temperatures are consistently above 50°F (10°C). This allows the clover to establish before the heat of summer.
- Late Summer/Early Fall: Aim for 4-6 weeks before your first expected frost. This gives the clover time to establish a good root system before winter dormancy.
Planting Clover Seed Techniques
Once your soil is prepared, it’s time for planting clover seed.
Seeding Rates:
Seeding rates vary by clover type and whether you’re overseeding or starting from scratch. Always check the seed packet for specific recommendations. As a general guideline:
- White Clover: 1-2 ounces per 1,000 square feet when overseeding.
- Micro Clover: 4-8 ounces per 1,000 square feet when overseeding.
Using a Spreader:
A broadcast spreader is the most efficient way to get an even layer of seed.
- Calibrate Your Spreader: Adjust the settings according to the seed packet’s recommendations.
- Fill the Spreader: Add the desired amount of clover seed.
- Walk Evenly: Walk in straight, overlapping passes across your lawn to ensure complete coverage. You might consider spreading half the seed in one direction (e.g., north-south) and the other half in the perpendicular direction (east-west) for maximum uniformity.
Raking After Seeding:
After spreading the seed, lightly rake the area. This helps ensure the seeds are in contact with the soil, which is crucial for germination. You don’t need to bury them deeply – just a light covering is sufficient.
Rolling (Optional):
For bare seedbeds, a lawn roller can be used to press the seeds firmly into the soil, further improving seed-to-soil contact.
Watering Your New Clover Lawn
Proper clover lawn watering is essential, especially during the germination and establishment phases.
Germination Phase (First 1-2 Weeks)
- Keep Seedbed Moist: The soil surface should be kept consistently moist but not waterlogged. This often means light watering once or twice a day, depending on the weather.
- Avoid Heavy Watering: Heavy watering can wash away the small seeds.
Establishment Phase (First Few Months)
- Deep and Infrequent: Once seedlings emerge, gradually shift to deeper, less frequent watering. Aim to water deeply enough to encourage roots to grow down into the soil.
- Observe Soil Moisture: Water when the top inch of soil feels dry.
- Reduce Watering Over Time: As the clover establishes its root system, its drought tolerance will kick in, and watering needs will decrease significantly.
Clover Lawn Maintenance: Low Effort, High Reward
One of the biggest draws of a clover lawn is its low clover lawn maintenance. Once established, it requires much less work than a traditional grass lawn.
Mowing Your Clover Lawn
- Height: Most clover varieties do well when mowed at a height of 2-3 inches. Micro clover can often be mowed shorter, around 1.5-2 inches.
- Frequency: You’ll find yourself mowing less often. Let the clover grow a bit before mowing.
- Mulching Mower: Leaving the clippings on the lawn is beneficial. They decompose and return nutrients to the soil, further enhancing your lawn’s health.
Fertilizing
- Generally Unnecessary: Due to its nitrogen-fixing abilities, clover rarely needs added fertilizer. In fact, applying high-nitrogen fertilizers can actually harm the clover by promoting excessive grass growth that can outcompete it.
- Occasional Boost: If you notice your clover looking pale, a light application of a balanced, low-nitrogen organic fertilizer or compost can help.
Weed Control
- Natural Competition: The dense growth of clover is its best weed defense.
- Manual Removal: For any persistent weeds that do pop up, manual removal (pulling them by hand) is usually sufficient.
- Avoid Herbicides: Most common lawn herbicides will kill clover. If you need to spot-treat for a specific weed that clover can’t handle, use extreme caution and targeted application.
Dealing with Pests and Diseases
Clover is generally very resistant to pests and diseases. Its hardy nature means you’ll likely have fewer problems than with traditional turfgrasses.
Clover Lawn Overseeding: Keeping it Full and Lush
Even with its resilience, you might consider clover lawn overseeding periodically to maintain a dense stand.
Why Overseed?
- Filling Thin Spots: Over time, some areas might become thin due to heavy traffic or other factors.
- Rejuvenating the Lawn: Overseeding can introduce new, vigorous clover plants, keeping your lawn looking its best.
When to Overseed
The best time to plant clover for overseeding is the same as for initial planting: spring or late summer/early fall, depending on your climate.
How to Overseed
The process is identical to the initial overseeding method:
- Mow low.
- Dethatch and/or aerate if needed.
- Rake lightly.
- Spread the clover seed using a spreader.
- Lightly rake to ensure seed-to-soil contact.
- Water consistently until established.
Clover Lawn Pros and Cons: A Balanced View
While the clover lawn benefits are numerous, it’s always good to consider the full picture.
Clover Lawn Pros
- Eco-Friendly: Reduces fertilizer and water use.
- Low Maintenance: Less mowing, less fertilizing.
- Improved Soil Health: Natural nitrogen fixer.
- Drought Tolerant: Stays green in dry conditions.
- Weed Suppressor: Creates a dense, competitive ground cover.
- Attracts Pollinators: Supports beneficial insects.
- Cost-Effective: Reduced need for expensive lawn products.
Clover Lawn Cons
- Flower Production: White clover produces flowers that attract bees. While beneficial, this can be a concern for households with severe bee allergies or in areas with very high foot traffic. Micro clover significantly reduces this issue.
- Yellowing in Extreme Heat: While drought-tolerant, clover can turn yellow in prolonged, extreme heat waves, though it usually recovers when conditions improve.
- Not Ideal for All Climates/Uses: May not be the best choice for highly shaded areas or lawns with extremely heavy, constant traffic (like a sports field).
- Initial Establishment: Like any seed, it needs careful watering and attention during the germination phase.
- Aesthetics: Some people prefer the uniformly manicured look of traditional grass and may find the clover’s flowering habit less appealing.
Troubleshooting Common Clover Lawn Issues
Even with its hardiness, you might encounter a few bumps along the road.
Thin Spots
- Cause: Heavy traffic, poor seed-to-soil contact, or competition from aggressive grass.
- Solution: Overseed the thin areas following the steps outlined above.
Clover Turning Yellow
- Cause: Prolonged extreme heat or drought.
- Solution: Water deeply and less frequently. It should recover as temperatures cool or rainfall increases.
Weeds Persisting
- Cause: Inadequate clover density, or specific stubborn weeds.
- Solution: Continue hand-pulling. Overseeding can help thicken the clover to outcompete weeds.
Frequently Asked Questions About Clover Lawns
Q1: Will clover kill my grass?
No, clover is a legume and will not kill your grass. In fact, it can actually benefit your grass by providing nitrogen. However, if your grass is very vigorous and you don’t want the clover to spread, you may need to manage mowing heights or consider clover varieties with less aggressive spreading habits like micro clover.
Q2: Is a clover lawn safe for pets and children?
Yes, clover is generally considered safe for pets and children. It’s non-toxic. The main concern for children might be the presence of bees attracted to the flowers, but this is less of an issue with micro clover and can be managed by avoiding walking on the clover when bees are actively foraging.
Q3: How long does it take for clover to establish?
Once planted, you should see germination within 7-14 days under ideal conditions. The lawn will start to look reasonably established within 4-6 weeks, but it can take a full growing season to reach its full density and resilience.
Q4: Can I plant clover in shady areas?
Clover prefers full sun to partial shade. While it can tolerate some shade, dense shade will limit its growth and ability to thrive. Traditional white clover does better in partial shade than micro clover.
Q5: Do I need to remove my existing grass before planting clover?
Not necessarily. Overseeding into an existing lawn is a common and effective method. However, preparing the soil by mowing low, dethatching, and aerating will significantly improve your chances of success.
Q6: What is the difference between white clover and micro clover?
White clover (Trifolium repens) is a larger-leaved, more vigorous spreader that produces noticeable white flowers. Micro clover is a dwarf variety with smaller leaves and significantly fewer flowers, offering a tidier appearance and reduced bee attraction.
Starting a clover lawn is a rewarding journey towards a more sustainable and beautiful yard. By following these steps, you’ll be well on your way to enjoying the many clover lawn benefits for years to come!