
Image Source: www.lawnstarter.com
How To Rejuvenate A Dying Lawn: Your Best Lawn Ever
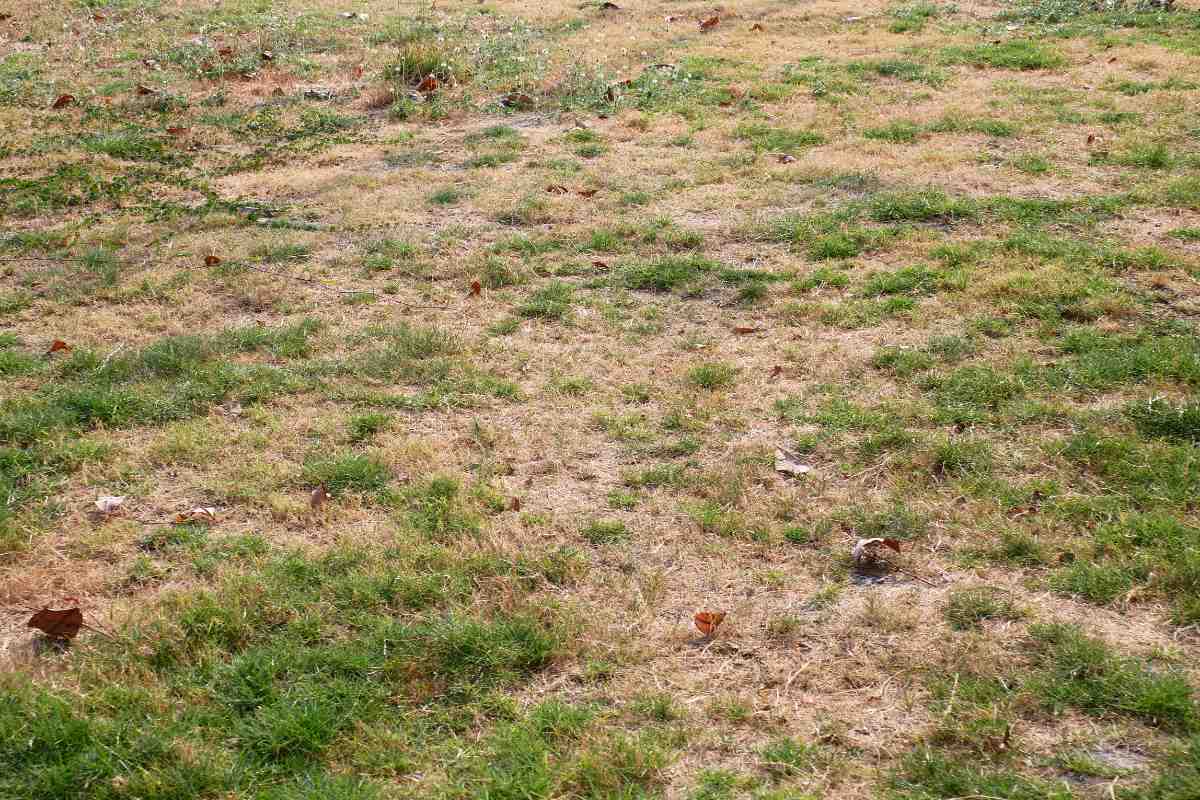
Can you revive a dying lawn? Yes, you absolutely can! A brown, struggling lawn doesn’t have to be a permanent fixture. With the right approach and consistent effort, you can bring your lawn back to life and achieve your best lawn ever. This guide will walk you through the steps to rejuvenate your dying lawn, from diagnosing the problem to implementing effective lawn care tips.
Deciphering Why Your Lawn is Dying
Before you can fix your lawn, you need to know why it’s struggling. Several factors can contribute to a lawn’s decline. Let’s look at the common culprits:
Common Causes of Lawn Decline
- Lack of Water: Not enough water is a frequent problem. Grass needs consistent moisture to thrive.
- Too Much Water: Overwatering can drown grass roots, leading to rot and disease. It can also encourage shallow root growth.
- Poor Soil Quality: Compacted soil or soil lacking essential nutrients starves grass roots.
- Pests and Diseases: Grubs, chinch bugs, fungal infections, and other issues can quickly devastate a lawn.
- Improper Mowing: Mowing too short stresses grass, making it vulnerable.
- Weeds: Aggressive weeds steal water, nutrients, and sunlight from your grass.
- Thatch Buildup: A thick layer of dead grass can block water and air from reaching the roots.
- Extreme Weather: Drought, excessive heat, or prolonged cold can stress grass.
Step-by-Step Lawn Revival
Once you have an idea of what’s ailing your lawn, it’s time to get to work. Rejuvenating a dying lawn is a process, not an overnight fix.
Step 1: Assess the Damage and Identify the Cause
Take a close look at your lawn. Are there specific areas that are worse than others?
- Brown Patches: Do you see distinct brown patches? This could indicate grub damage, fungal disease, or a localized watering issue. Try digging up a small section of the brown turf to look for C-shaped, white grubs.
- Overall Browning: Is the entire lawn looking faded and dry? This often points to a widespread lack of water or nutrient deficiency.
- Yellowing: Yellowing grass can be a sign of nitrogen deficiency or overwatering.
Action: Carefully observe your lawn for a few days. Note any patterns or specific symptoms.
Step 2: Address Water Woes
Proper watering is crucial for grass recovery methods.
- How Much Water? Most established lawns need about 1 inch of water per week, either from rain or irrigation.
- When to Water: Water deeply and infrequently. This encourages deep root growth. The best time to water is early in the morning. This allows the grass to dry before nightfall, reducing the risk of fungal diseases.
- Check Soil Moisture: Stick a screwdriver or a trowel into the soil. If it goes in easily to a depth of 6 inches, the soil is likely moist enough. If it’s hard to push, it’s time to water.
Proper Watering Techniques:
- Deep Watering: Water for longer periods to saturate the soil. This might mean running sprinklers for 30-45 minutes at a time, depending on your sprinkler system.
- Infrequent Watering: Allow the soil to dry out slightly between waterings. This forces roots to grow deeper in search of moisture.
- Avoid Evening Watering: Watering late in the evening leaves the grass blades wet overnight, creating a perfect environment for fungal growth.
Step 3: Feed Your Lawn with Fertilizer
If your lawn is deficient in nutrients, fertilize dormant grass or struggling grass to give it a boost.
- Soil Testing: The best way to know what nutrients your lawn needs is to get a soil test. Your local extension office can usually help with this.
- Choosing the Right Fertilizer: Look for a balanced fertilizer with a N-P-K ratio (Nitrogen-Phosphorus-Potassium). Nitrogen promotes green, leafy growth. Phosphorus aids root development, and potassium helps with overall plant health and stress tolerance.
- When to Fertilize: For a struggling lawn, a mid-season feeding can be beneficial. Avoid fertilizing during extreme heat or drought, as this can burn the grass. Fall is often the most important time to fertilize for winter hardiness.
Fertilizing Dormant Grass Tips:
- Timing is Key: Fertilize when the grass is still dormant but the soil is no longer frozen. This allows the nutrients to be absorbed when the grass begins to green up in spring.
- Slow-Release Fertilizers: These provide a steady supply of nutrients over time, reducing the risk of burning the grass.
Step 4: Tackle Thatch and Soil Compaction
A thick layer of thatch or compacted soil prevents air, water, and nutrients from reaching the roots.
- Dethatching: If you have more than half an inch of thatch, it’s time to dethatch. This can be done with a power rake or a manual dethatching tool.
- Aeration: This process involves creating small holes in the soil, allowing air, water, and nutrients to penetrate. It’s especially important for clay soils or areas with heavy foot traffic.
Aeration and Overseeding for a Healthier Lawn:
- When to Aerate: The best times to aerate are during the active growing seasons for your grass type (spring or fall for cool-season grasses, and late spring or early summer for warm-season grasses).
- Overseeding After Aeration: After aerating, it’s the perfect time to overseed. This means spreading new grass seed over the existing lawn. The plugs created by aeration provide excellent seed-to-soil contact, improving germination rates.
How to Overseed:
- Choose the Right Seed: Select a grass seed variety that matches your existing lawn or is well-suited to your climate.
- Spread the Seed: Use a spreader for even distribution.
- Water Consistently: Keep the seeded areas consistently moist until the new grass is established.
Step 5: Wage War on Weeds
Weeds compete with your grass for resources. Effective weed control strategies are essential.
- Identify Weeds: Knowing what type of weeds you have will help you choose the most effective control method.
- Manual Removal: For small infestations, hand-pulling weeds is effective. Make sure to get the entire root.
- Herbicides:
- Pre-emergent Herbicides: Applied before weed seeds germinate, these prevent weeds from sprouting.
- Post-emergent Herbicides: Applied after weeds have emerged, these kill existing weeds. Always follow label instructions carefully and choose a product that is safe for your grass type.
Weed Control Strategies:
- Healthy Lawn: A thick, healthy lawn is the best defense against weeds.
- Spot Treatment: Target weeds directly with herbicides rather than spraying the entire lawn.
- Timing: Apply post-emergent herbicides when weeds are young and actively growing for best results.
Step 6: Combat Pests
Pesky insects can wreak havoc on your lawn. Proper pest management for lawns is vital.
- Identify Pests: Common lawn pests include grubs, chinch bugs, and sod webworms. Look for signs of damage like brown patches, chewed blades, or visible insects.
- Treatment Options:
- Beneficial Nematodes: These microscopic organisms are natural predators of many soil-dwelling pests.
- Insecticides: If the infestation is severe, you may need to use an insecticide. Choose an insecticide specific to the pest you are dealing with and follow application instructions carefully.
- Preventative Measures: Maintaining a healthy lawn through proper watering and fertilization can make it more resistant to pest damage.
Pest Management for Lawns:
- Regular Inspections: Walk your lawn regularly and look for signs of pest activity.
- Targeted Treatments: Don’t apply pesticides as a blanket solution. Identify the specific pest and use a product designed to control it.
- Timing of Application: Apply insecticides when the pests are most vulnerable.
Step 7: Restore Soil Health
Soil health improvement is the foundation of a thriving lawn.
- Amendments: Adding compost or other organic matter improves soil structure, drainage, and nutrient content.
- pH Balance: Grass prefers a slightly acidic to neutral pH (6.0-7.0). A soil test will reveal if your pH needs adjustment. Lime can be added to raise pH (make it less acidic), while sulfur can be added to lower pH (make it more acidic).
- Aeration and Dethatching: As mentioned earlier, these practices also significantly improve soil health by allowing better air and water penetration.
Soil Health Improvement Techniques:
- Topdressing: Spreading a thin layer of compost over the lawn can improve soil structure and fertility over time.
- Organic Fertilizers: These not only provide nutrients but also contribute to a healthy soil ecosystem.
- Avoid Compaction: Minimize foot traffic on wet soil to prevent further compaction.
Reviving Brown Patches: A Focused Approach
Revive brown patches on your lawn requires a targeted approach. Often, these patches are caused by specific issues that need to be addressed directly.
Common Causes and Solutions for Brown Patches
| Cause | Symptoms | Solution |
|---|---|---|
| Grubs | Irregular brown patches, turf pulls up easily | Apply a grub control product. Timing is crucial for effectiveness. Digging a small section can reveal C-shaped white grubs. |
| Fungal Disease | Circular or irregular brown patches, often with rings of pink or white mycelium | Improve air circulation (mow higher, trim shrubs). Water in the morning. Apply a fungicide if necessary. Ensure proper drainage. |
| Chinch Bugs | Yellowish-brown patches, especially in sunny areas | Look for small, dark insects with white markings. Water deeply. Apply an insecticide if the infestation is severe. |
| Drought Stress | Uniform browning, grass blades fold in half | Water deeply and infrequently. Ensure your irrigation system is efficient. Consider drought-tolerant grass varieties for future overseeding. |
| Pet Urine | Small, circular dead patches with green rings around them | Water the affected area immediately to dilute the urine. For existing patches, reseed or patch the area after it has recovered slightly. |
| Compacted Soil | Stunted growth, thin turf, poor water infiltration | Aerate the lawn and overseed. Amend the soil with compost. |
| Over-fertilization (Burn) | Streaky brown patches where fertilizer was applied heavily | Water the area thoroughly to leach out excess fertilizer. Avoid over-applying fertilizer. |
Maintaining Your Rejuvenated Lawn
Bringing your lawn back from the brink is a significant achievement. Now, the goal is to keep it looking its best. Consistent, proper maintenance is key.
Ongoing Lawn Care Tips
- Regular Mowing: Mow at the highest recommended height for your grass type. This encourages deeper root growth and shades out weeds.
- Water Wisely: Continue to water deeply and infrequently.
- Fertilize Appropriately: Follow a seasonal fertilization schedule based on your grass type and soil test results.
- Continue Weed and Pest Monitoring: Stay vigilant and address any new issues promptly.
- Seasonal Aeration and Overseeding: Consider aerating and overseeding every 1-2 years to maintain soil health and density.
Frequently Asked Questions (FAQ)
Q1: How long does it take to rejuvenate a dying lawn?
A1: The time it takes can vary depending on the severity of the damage and the methods used. Some improvements may be visible within a few weeks, but a full recovery can take several months to a full growing season. Consistency is key.
Q2: Can I use a sprinkler system to water my lawn?
A2: Yes, sprinkler systems are effective for watering your lawn. However, ensure they are set to water deeply and infrequently, and that they provide even coverage across your lawn. Adjust watering times based on weather conditions.
Q3: When is the best time to overseed my lawn?
A3: The best time to overseed depends on your grass type. For cool-season grasses (like fescue, bluegrass, and ryegrass), fall is generally the ideal time. For warm-season grasses (like Bermuda, zoysia, and centipede), late spring or early summer is best.
Q4: How do I know if my lawn has grubs?
A4: Grubs are C-shaped, white larvae that feed on grass roots. Signs of grub infestation include irregular brown patches that may lift up easily like a carpet, and increased activity of birds or animals digging in your lawn. You can also dig up small sections of turf to look for them.
Q5: What is dethatching and why is it important?
A5: Dethatching is the process of removing the layer of dead grass and organic matter (thatch) that builds up between the soil surface and the green grass blades. A thin layer of thatch is beneficial, but too much thatch can prevent water, air, and nutrients from reaching the soil and roots, leading to lawn problems.
Q6: Is it safe to walk on my lawn while it’s recovering?
A6: It’s best to minimize foot traffic on a lawn that is actively recovering, especially if it has been recently aerated, overseeded, or if the grass is still thin. Once the grass has thickened and established itself, normal foot traffic is generally fine.
By following these comprehensive steps and adopting a consistent approach to lawn care tips, you can transform your dying lawn into a lush, healthy, and vibrant green space. Remember, patience and persistence are your greatest allies in this rejuvenation process.